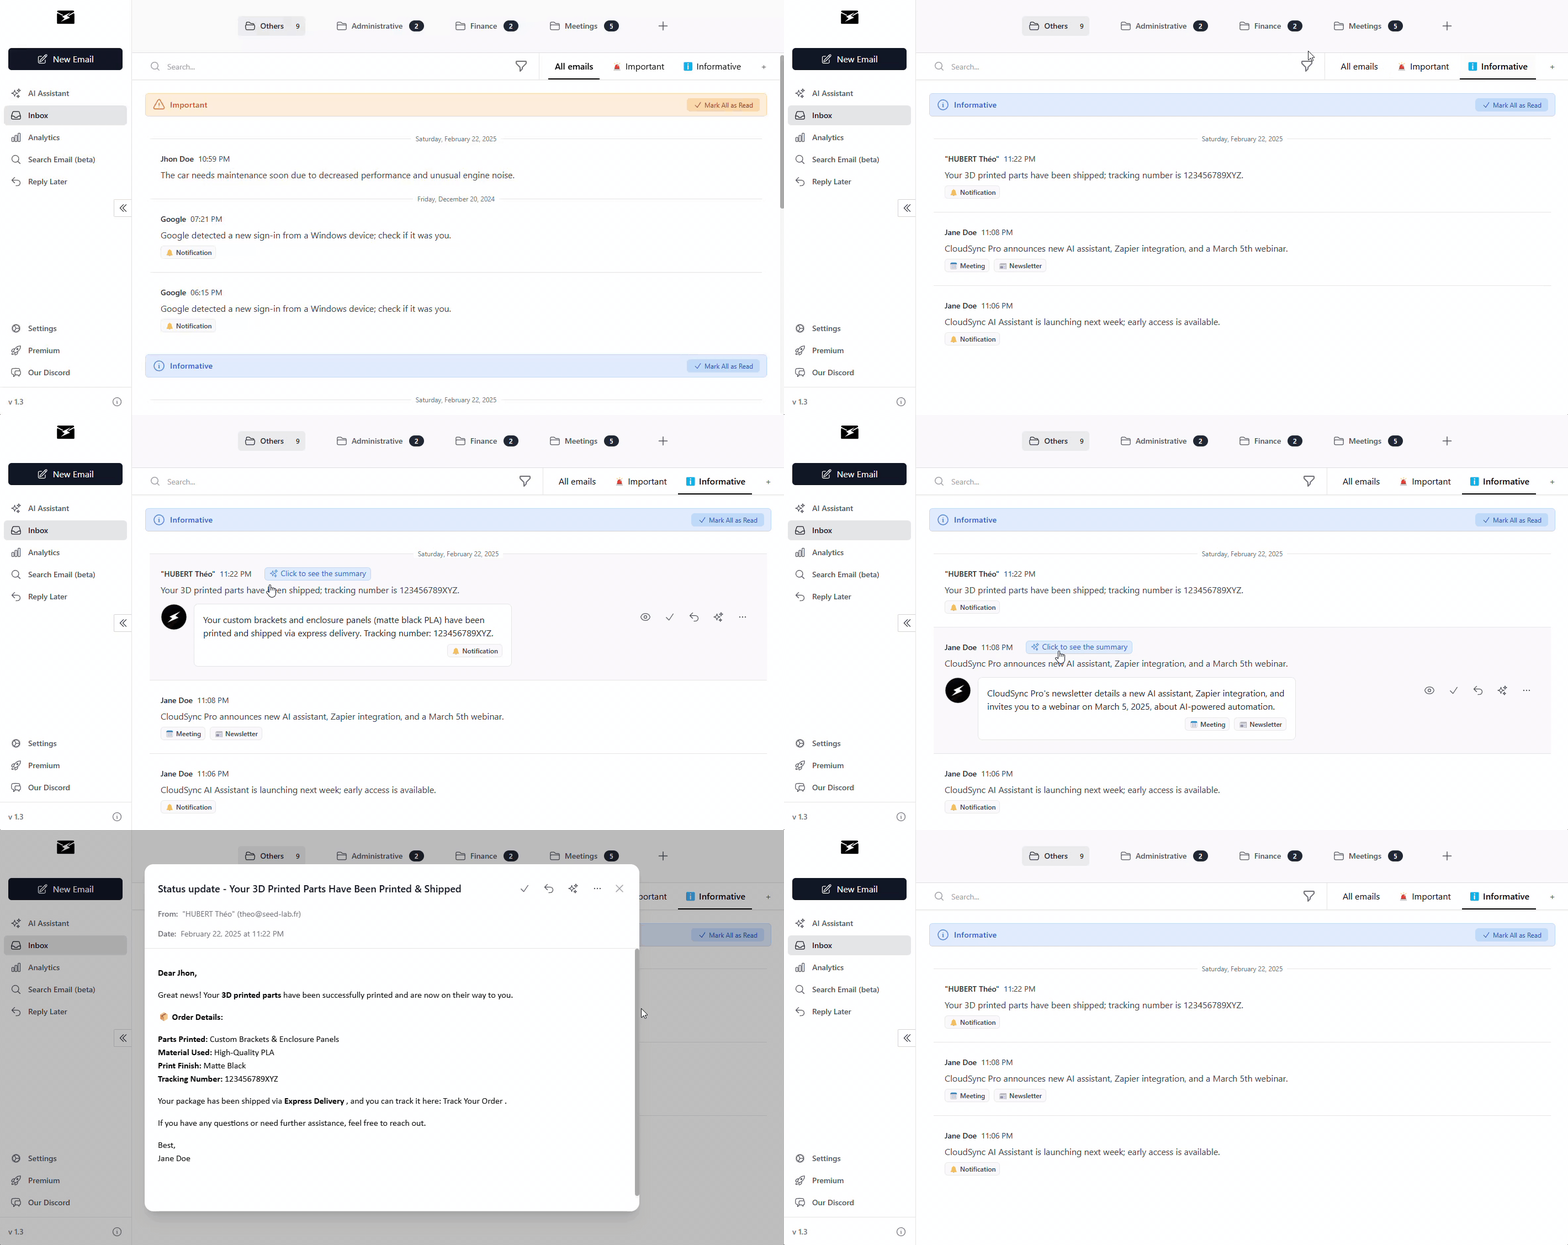
An intelligent, open-source email management platform with AI capabilities. Use our hosted version or self-host for complete control.
🌐 Website: https://aomail.ai
📧 Support: aomailaipro@gmail.com
-
📧 Email Provider Integration
- Labels are replicated on Gmail & Outlook
- Link multiple accounts (premium plan)
-
🤖 AI-Powered Tools
- Smart categorization with custom rules
- AI chat assistant for composition and replies
- Customizable AI agents
- Smart email categorization with summaries
- Search emails or ask AI questions (beta)
-
📊 Analytics & Management
- Usage analytics and insights
- Multi-account dashboard
- AI Custom Rules: Automatic forwarding and smart replies
- Platform Integration: Discord & Slack connectivity with smart summaries
- LLM Choice: Support for OpenAI, Anthropic, Llama, Mistral
Try Aomail for free today and experience the future of email management.
No credit card required.
Required Services:
- Gemini API
- Google OAuth
Optional Services:
- Google PubSub
- Microsoft Azure
- Stripe
- Clone and Install:
git clone https://github.com/aomail-ai/aomail-app
cd aomail-app
cd frontend && npm install
cd .. && cp backend/.env.example backend/.env-
Google Project Setup:
1 Generate a Gemini API key here. You also need to enable Gemini API here 2 Create a Google Cloud Console Project 3 Configure OAuth screen with scopes from
/backend/aomail/constants.py-
Set authorized origins:
http://localhost -
Set redirect URIs:
http://localhost/signup-linkhttp://localhost/settings
-
PubSub Setup (Optional):
-
For Local Development:
- Install and run Google Cloud PubSub emulator
- Configure local webhook endpoint
-
For Production:
- Create a new PubSub topic in Google Cloud Console (Create topic)
- Configure webhook URL:
https://your-domain/google/receive_mail_notifications/ - Set up push subscription with your webhook
-
-
-
Configure Environment: Required variables in
.env:
# LLM API KEYS
GEMINI_API_KEY=""

# ENCRYPTION KEYS
SOCIAL_API_REFRESH_TOKEN_KEY=""
EMAIL_ONE_LINE_SUMMARY_KEY=""
EMAIL_SHORT_SUMMARY_KEY=""
EMAIL_HTML_CONTENT_KEY=""

# DJANGO CREDENTIALS
DJANGO_SECRET_KEY=""

# Google Configuration (if using Gmail)
GOOGLE_PROJECT_ID=""
GOOGLE_CLIENT_ID=""
GOOGLE_CLIENT_SECRET=""

# Microsoft Configuration (if using Outlook)
MICROSOFT_CLIENT_ID=""
MICROSOFT_CLIENT_SECRET=""
MICROSOFT_TENANT_ID=""
MICROSOFT_CLIENT_STATE=""
- Launch Application:
chmod +x start.sh
./start.sh
Access at http://localhost:8090/
If you encounter database migration problems, run these commands:
sudo rm -fr backend/aomail/migrations
docker exec -it aomail_project-backend_dev-1 python manage.py makemigrations --empty aomail
./start.shCommon port conflict issues:
- Check for any running containers using the same ports
- Look for conflicts between production/development containers
- Try updating ports in
start.shif needed
Follow these steps in order:
- Configure your DNS record
- Update the reverse proxy settings
- Open required port:
sudo ufw allow PORT_NUMBER - Add the subdomain to
ALLOWED_HOSTSin start.sh
Q: How do you ensure email security?
A: We take security seriously:
- All emails are encrypted and stored in a secure database
- Our code is open source and publicly auditable
- We've received a 9.7/10 security rating from TAC Security
- No AI training is performed on your data
Download Security Assessment Report
Q: How do you handle AI and data privacy?
A: We prioritize your privacy:
- No training is performed on your emails
- We use stateless API calls to LLM providers
- You can choose your preferred LLM provider:
Q: How long is the free trial?
A: We offer a 14-day free trial.
Q: Do I need to provide credit card information?
A: No, you can start your free trial without entering any payment information.
Q: Which email providers are supported?
A: Currently, we support:
- Gmail
- Outlook (beta)
Q: How does mailbox linking work?
A: We use industry-standard OAuth 2.0 for secure mailbox integration. Learn more about OAuth 2.0
Q: How do I get unlimited access to Aomail?
A: You'll need to set up the admin dashboard to give yourself unlimited access. Check out our admin dashboard repository for setup instructions.
- Set up development environment (recommended):
python3 -m venv py_env
source py_env/bin/activate
pip install -r requirements.txt- Fork repository
- Create feature branch
- Submit pull request
- Feature Requests: Use our feature request template with
enhancement+backend/frontendlabels - Bug Reports: Use our bug report template with
bug+backend/frontendlabels

