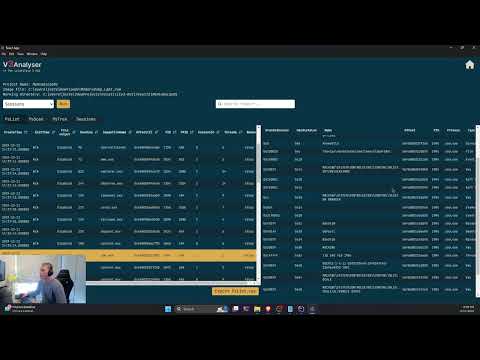
(Click image below to go to video)
We solved the first part of the "Lab 1" in this repository:
https://github.com/stuxnet999/MemLabs
python or python3
- Clone the repo
git clone <repository_url>
pip install -r requirements.txtpip3 install -r requirements.txtcd backendrun script:
pyinstaller --add-data "app.py:." --add-data "./util/*.py:util" --add-data "../volatility3/*:volatility3" app.pycd backendrun script:
pyinstaller --add-data "app.py;." --add-data "./util/*.py;util" --add-data "../volatility3/*;volatility3" app.pyNavigate back to root directory:
cd ..Navigate to frontend:
cd frontendRun npm install
npm installNavigate back to root folder:
cd ..npm startEverything related to front end. Communicates with backend.
Everything related to backend. Communicates with volatility3.
Everything related to testing. Communicates with backend.
The volatility engine. See its own README file on how to get started and installing requirements.
To install all the necessary dependencies for testing, go to the root directory terminal and use:
pip install -e .
pip install -r ./requirements_dev.txt
Then download this test memory dump (20210430-Win10Home-20H2-64bit-memdump.mem.7z):
https://archive.org/download/Africa-DFIRCTF-2021-WK02
once that's installed, unzip and move the .mem file into the "tests" folder of this project.
you can then enter the terminal at the projects root and type:
pip install toxAfter tox is installed, simply type:
toxin the project root.