Adding subtitles can make watching movies more enjoyable for everyone. They help you catch every word, even when the audio isn’t great, and they’re essential for people who are deaf or hard of hearing.
Subtitles are also super helpful if you’re learning a new language, or if you just want to stay focused or enjoy foreign films. Plus, they’re perfect for watching in noisy places where you can’t watch at a loud volume.
This article will show you simple, tried-and-true ways to add subtitles to movies, along with sharing the best media players for handling captions on both Mac and Windows.
Method for Downloaded Offline Movies on Mac - Elmedia Player
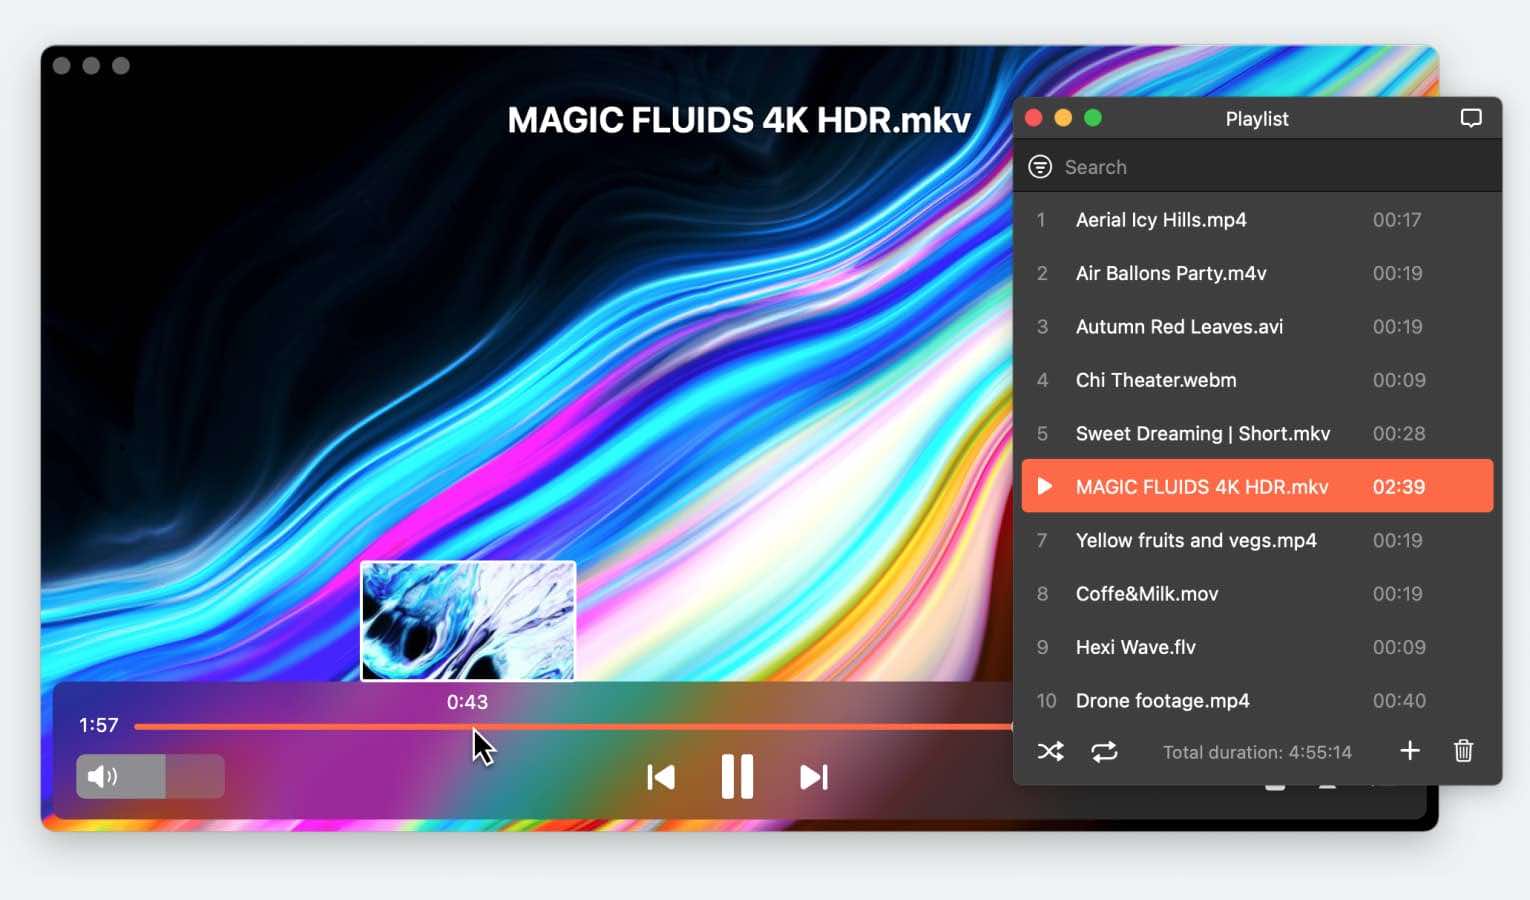
If you want to watch a movie on your Mac with subtitles, Elmedia Player is an excellent option. This media player is incredibly versatile as it handles a wide range of video and subtitle file formats, including .srt, .ass, .ssa, .idx, .jss, .rt, .smi, .smil, .sub, .txt, .utf, .vtt, and .webvtt. It lets you cast movie to TV with subtitles without any hassle.
Elmedia’s subtitle encoding auto-detection feature makes it easy to set up subtitles by automatically recognizing the encoding format of subtitle files. If the encoding isn’t detected accurately, you’ll receive a prompt to manually select the correct format, making sure your subtitles display properly every time.
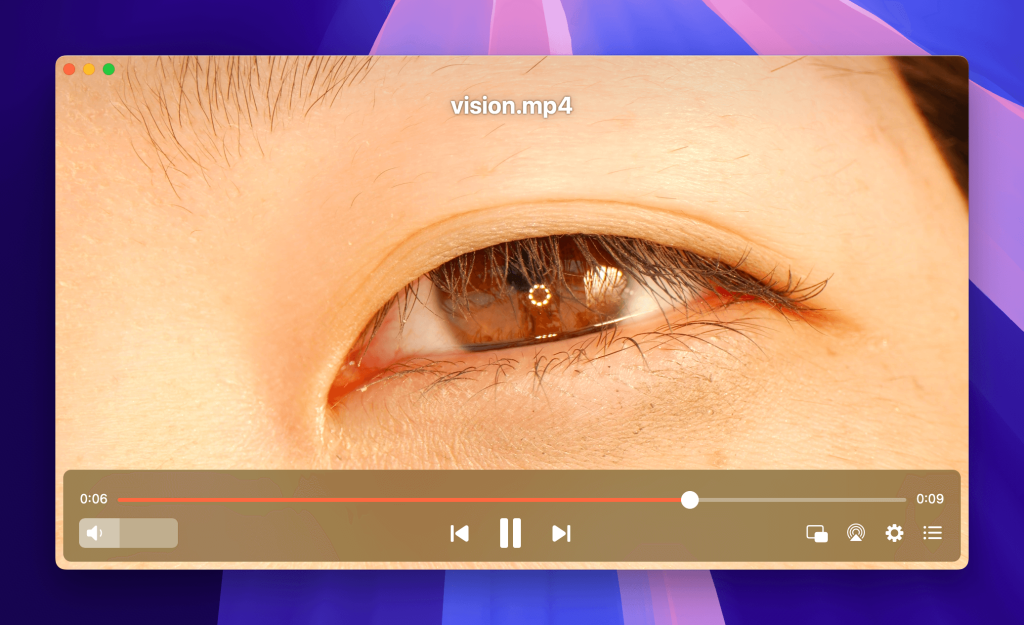

Another great feature you’ll enjoy is Elmedia’s integration with OpenSubtitles.com. This built-in tool allows you to quickly search for and download text files directly within the player. You’ll be able to add subtitles to a streaming movie without wasting time hunting for files on other websites.
To add subtitles to a downloaded movie, particularly an MP4 video in Elmedia Player, you need to follow a pretty simple process:
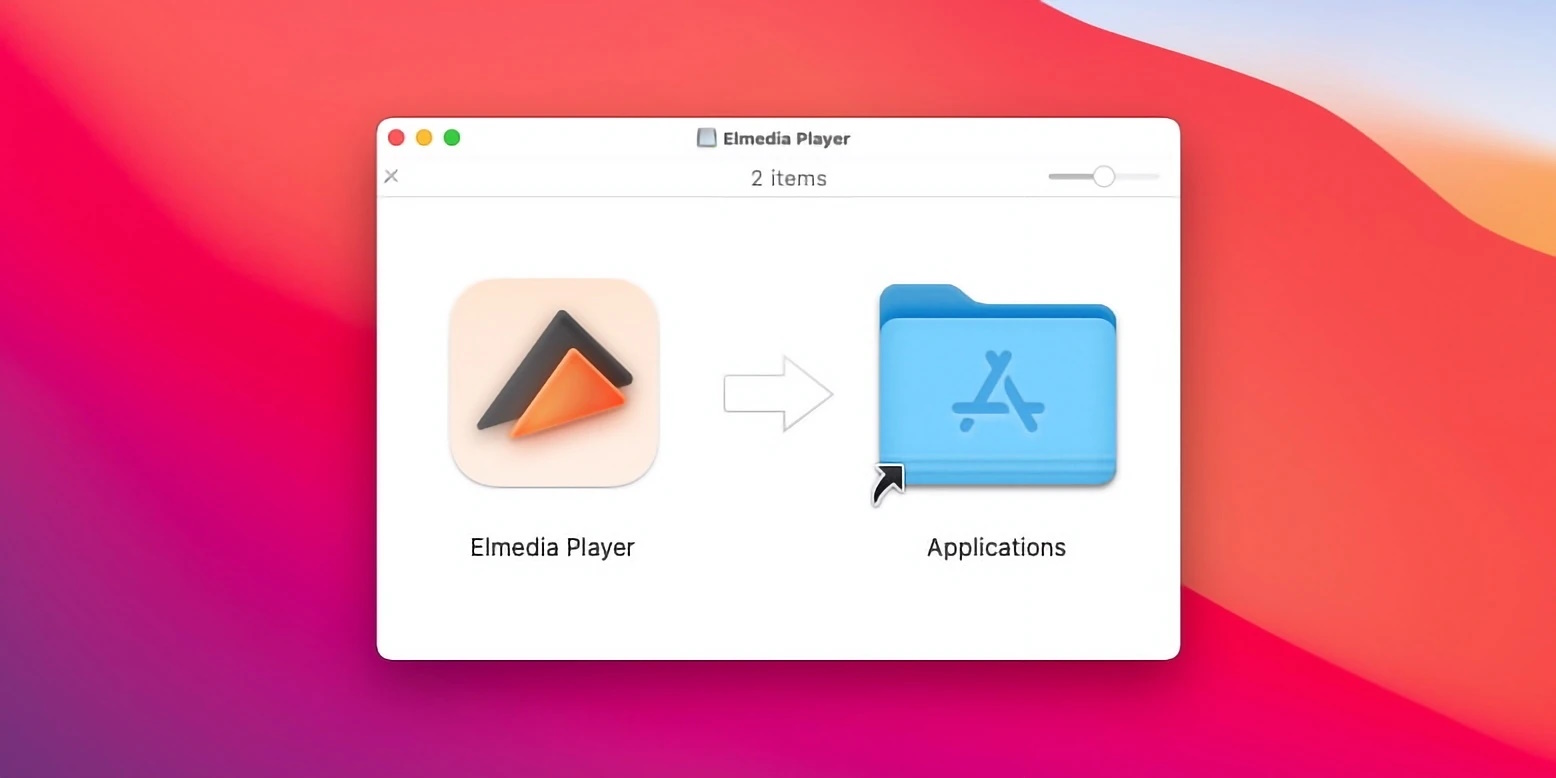
1. Download Elmedia Player on your Mac and then open it.

2. Make sure the subtitle file and the MP4 video or movie file are in the same folder.
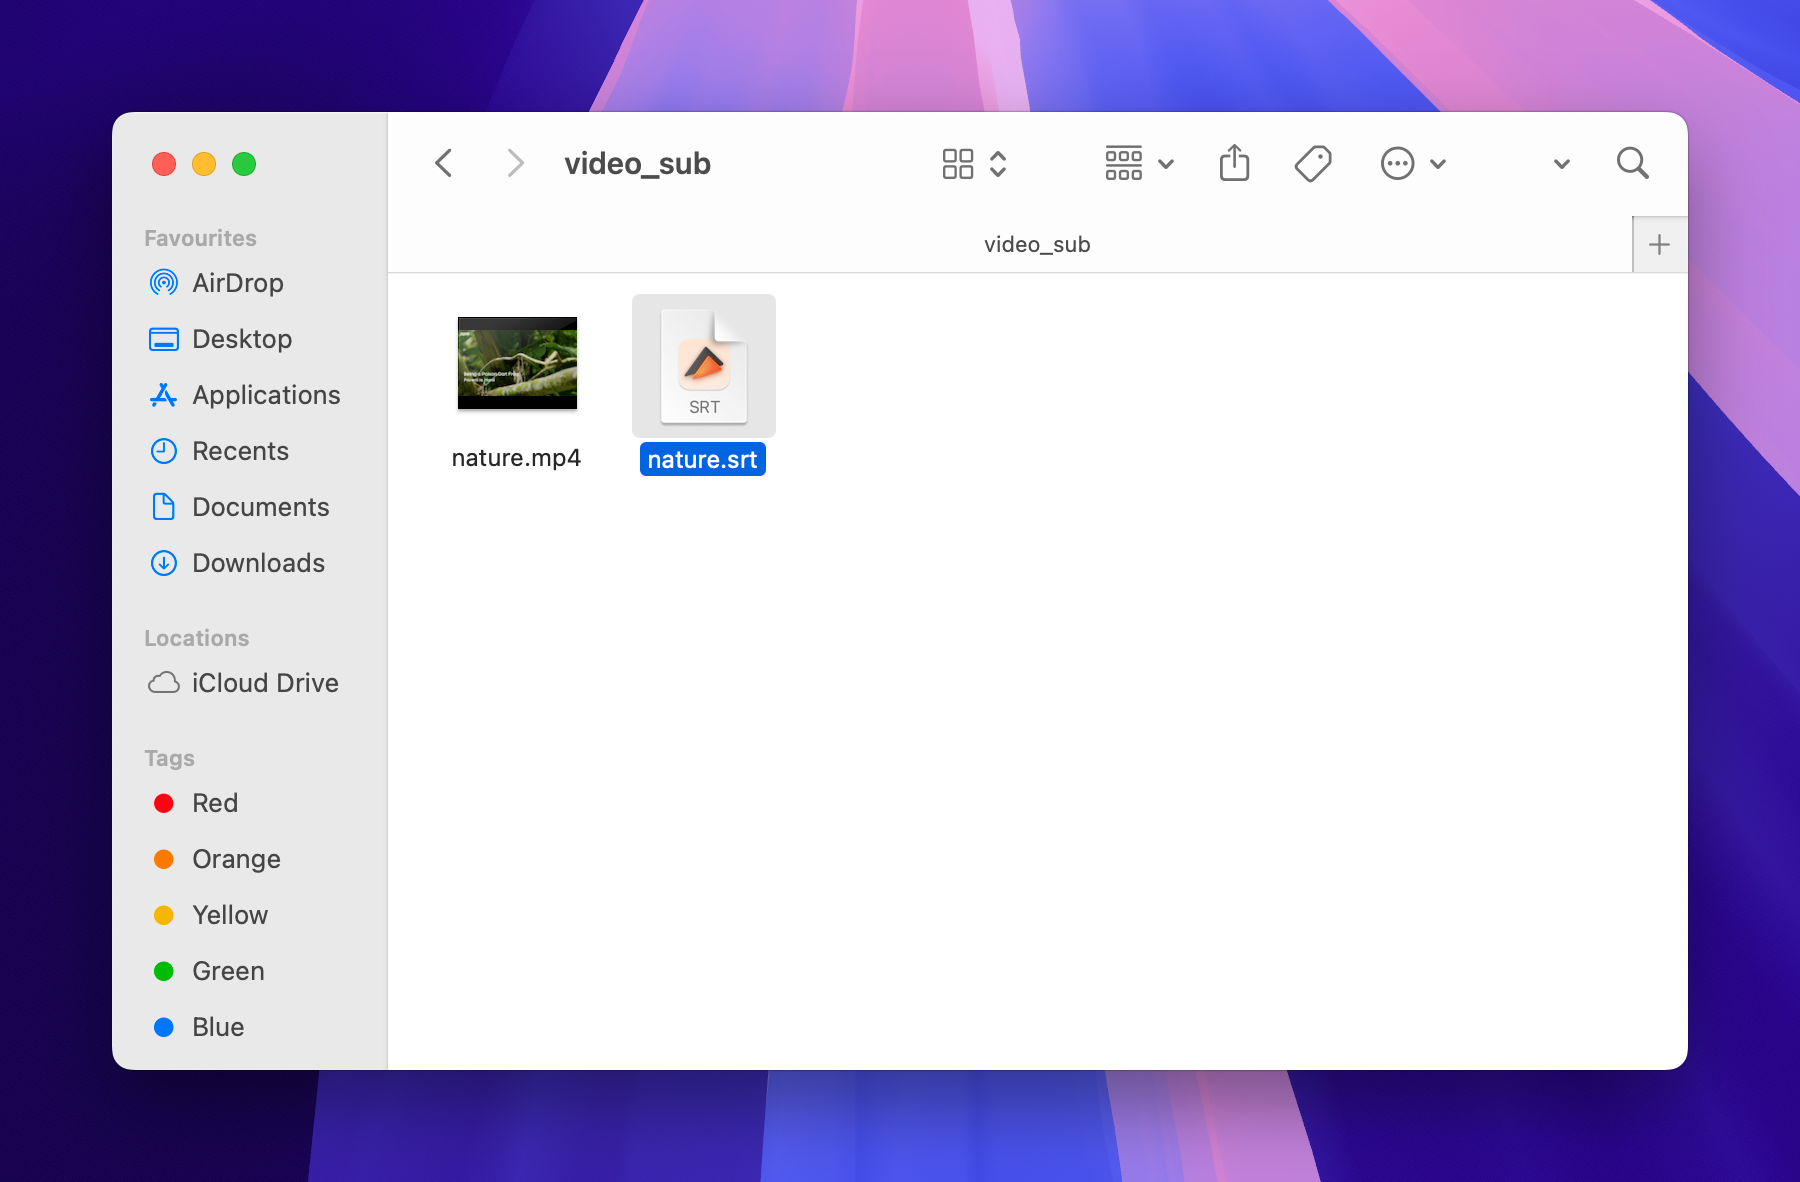

3. Open the video you want to watch in Elmedia. It’ll automatically detect the subtitles if they’re in the same folder as the video.
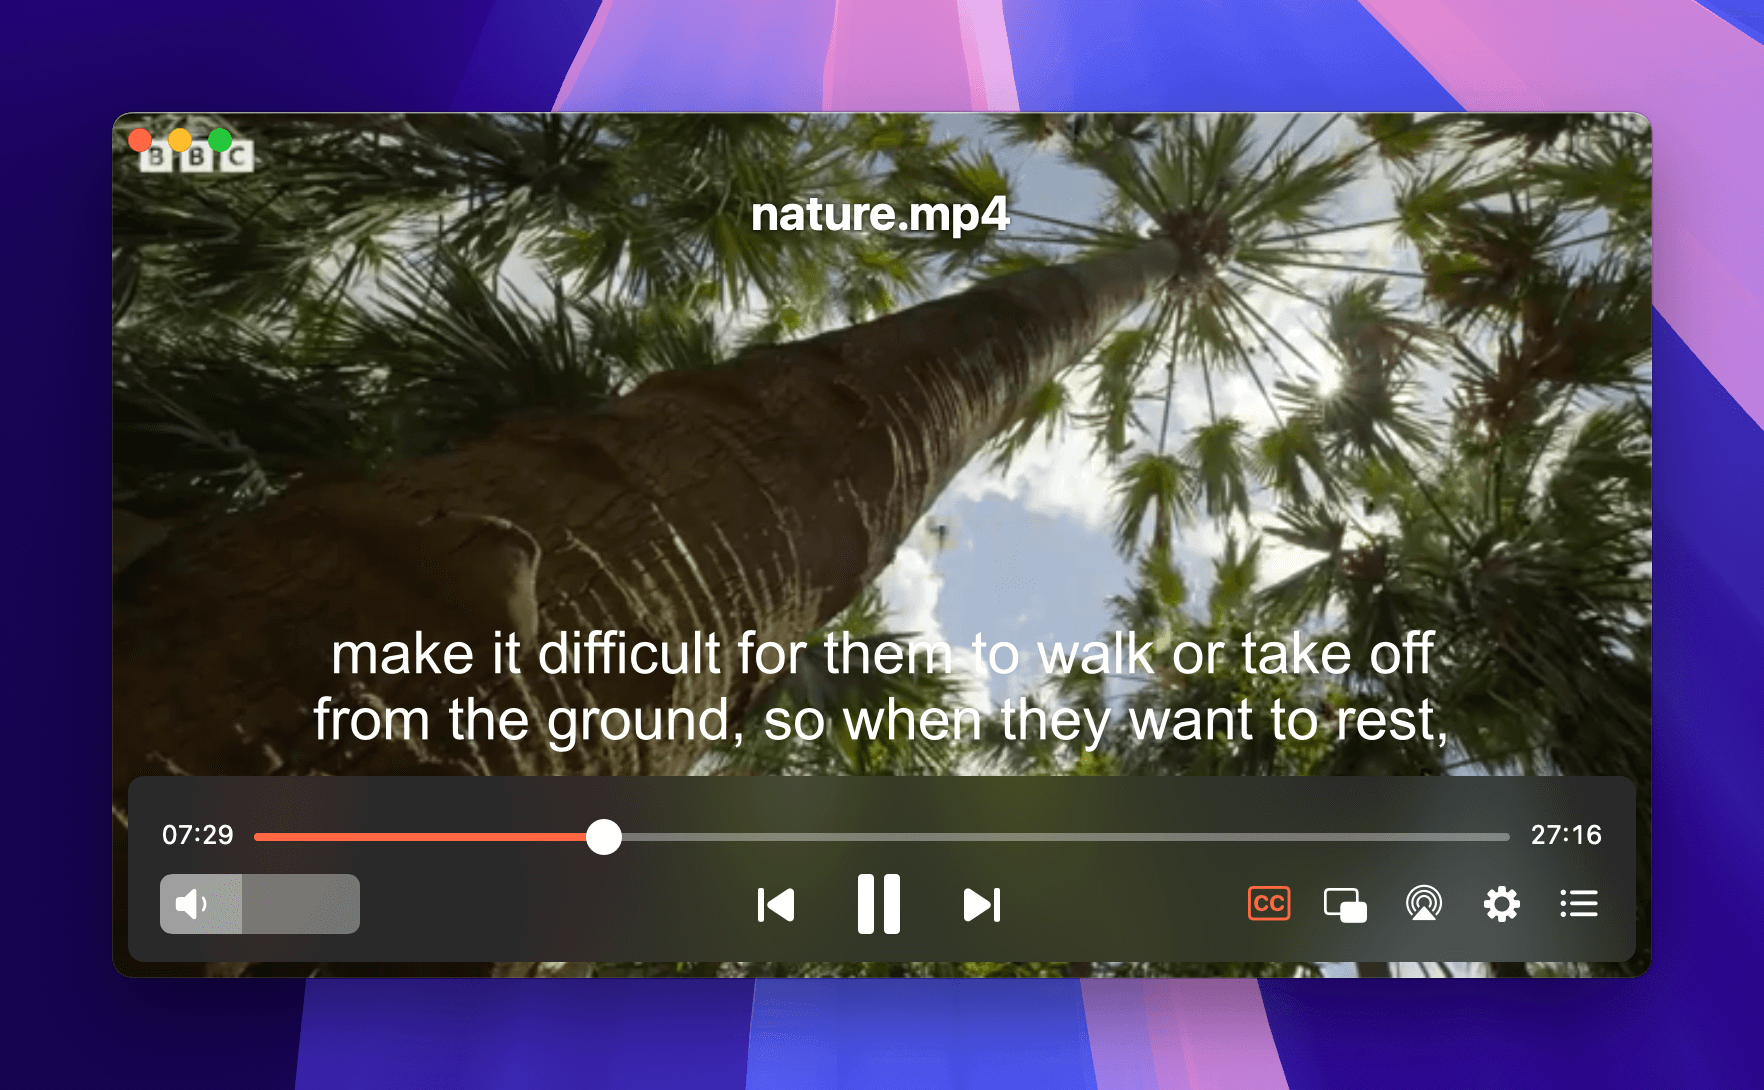

4. If you have subtitle files in multiple languages, simply press the “S” key to cycle through the available options until you find the one that suits you best.
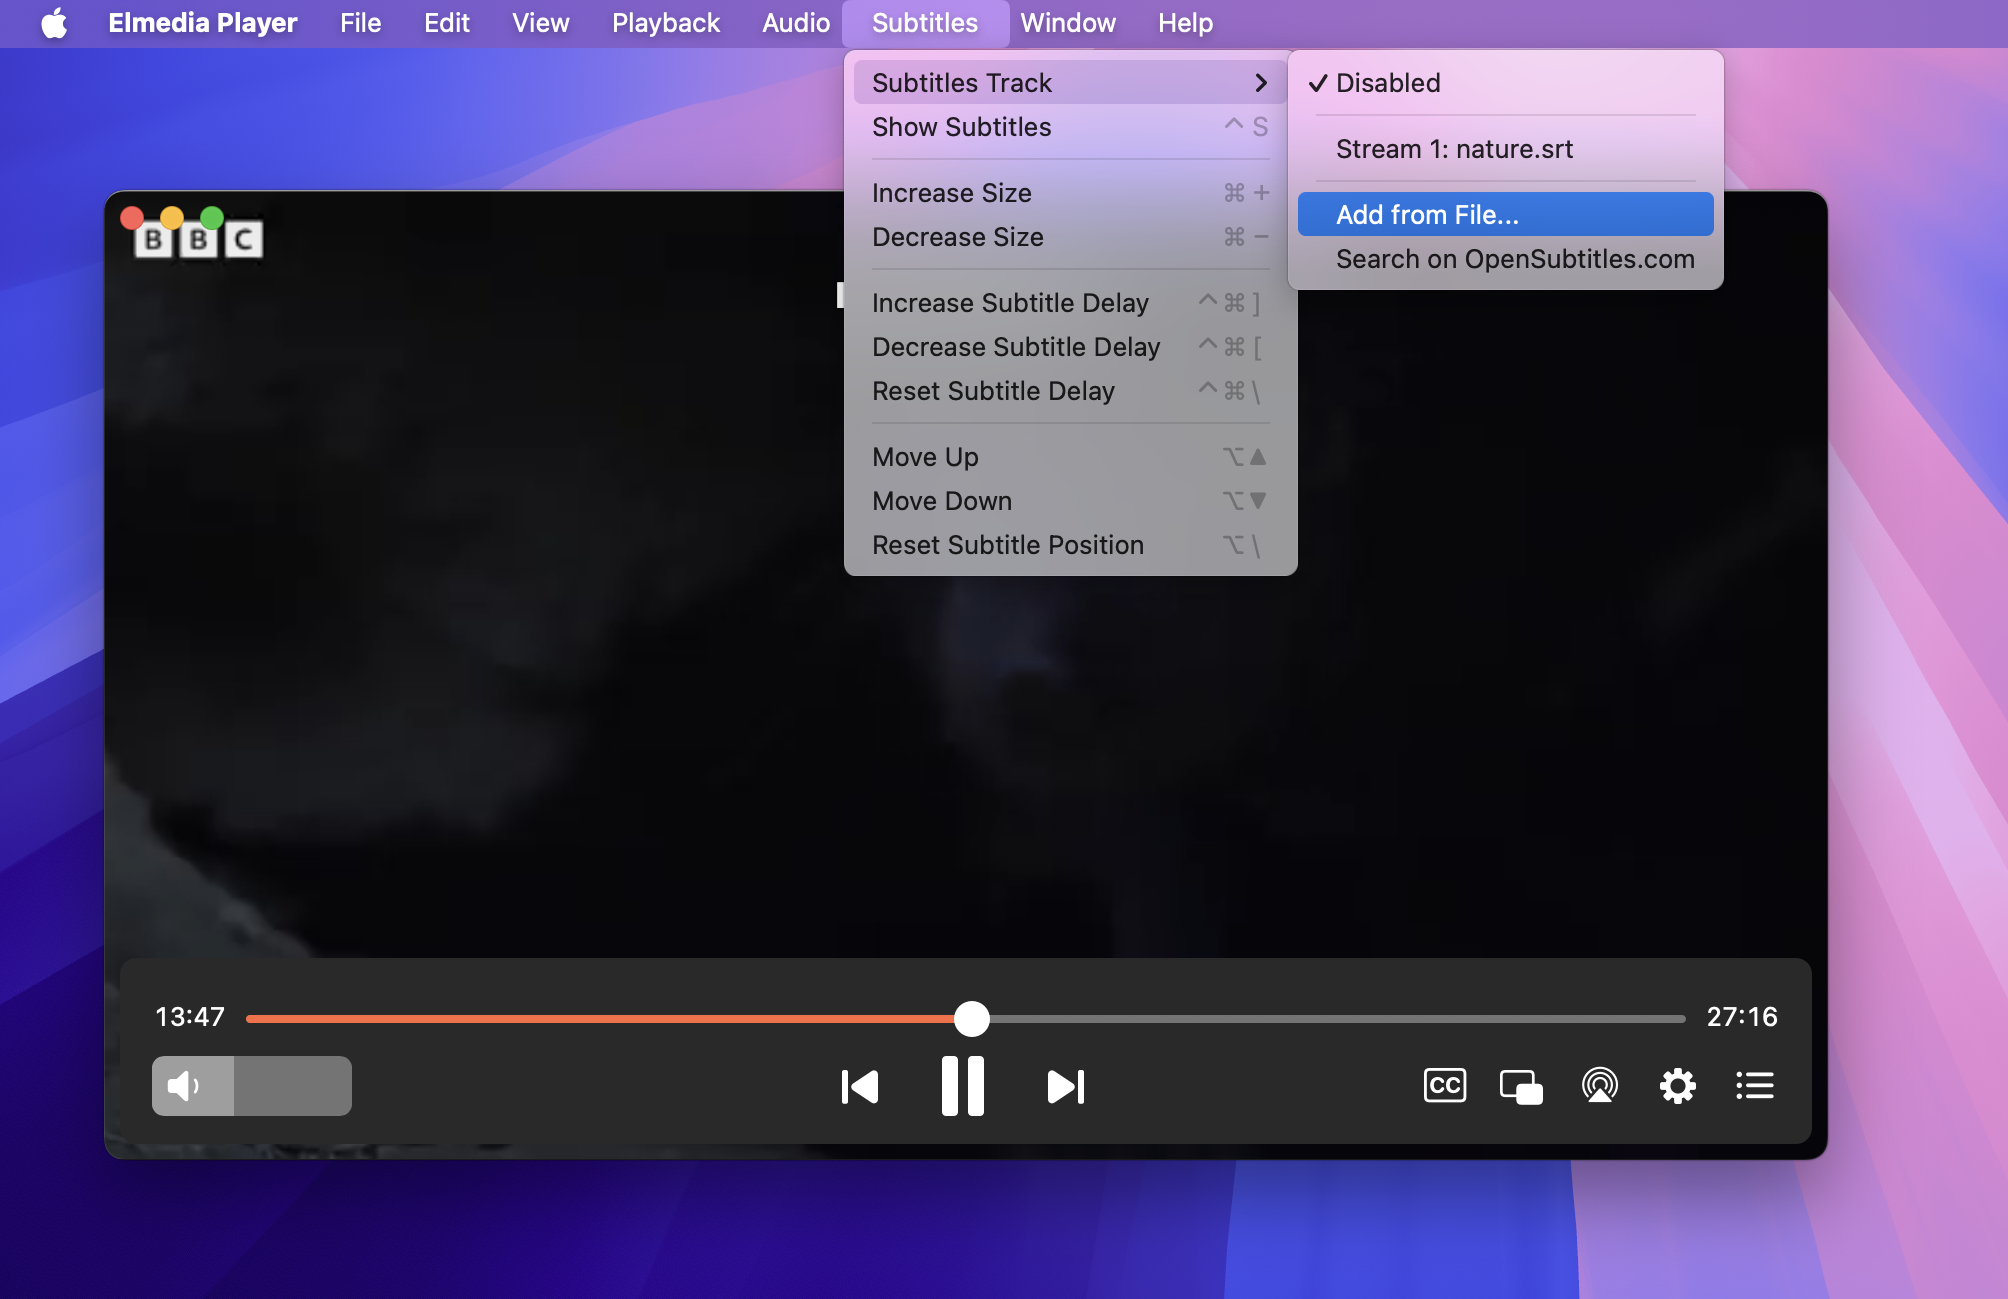
5. In some cases, manually fetching the subtitles for the movie might be the only option. For this, all you need to do is go to the Settings of Elmedia and click on “Subtitles.” Choose the files you want to add.

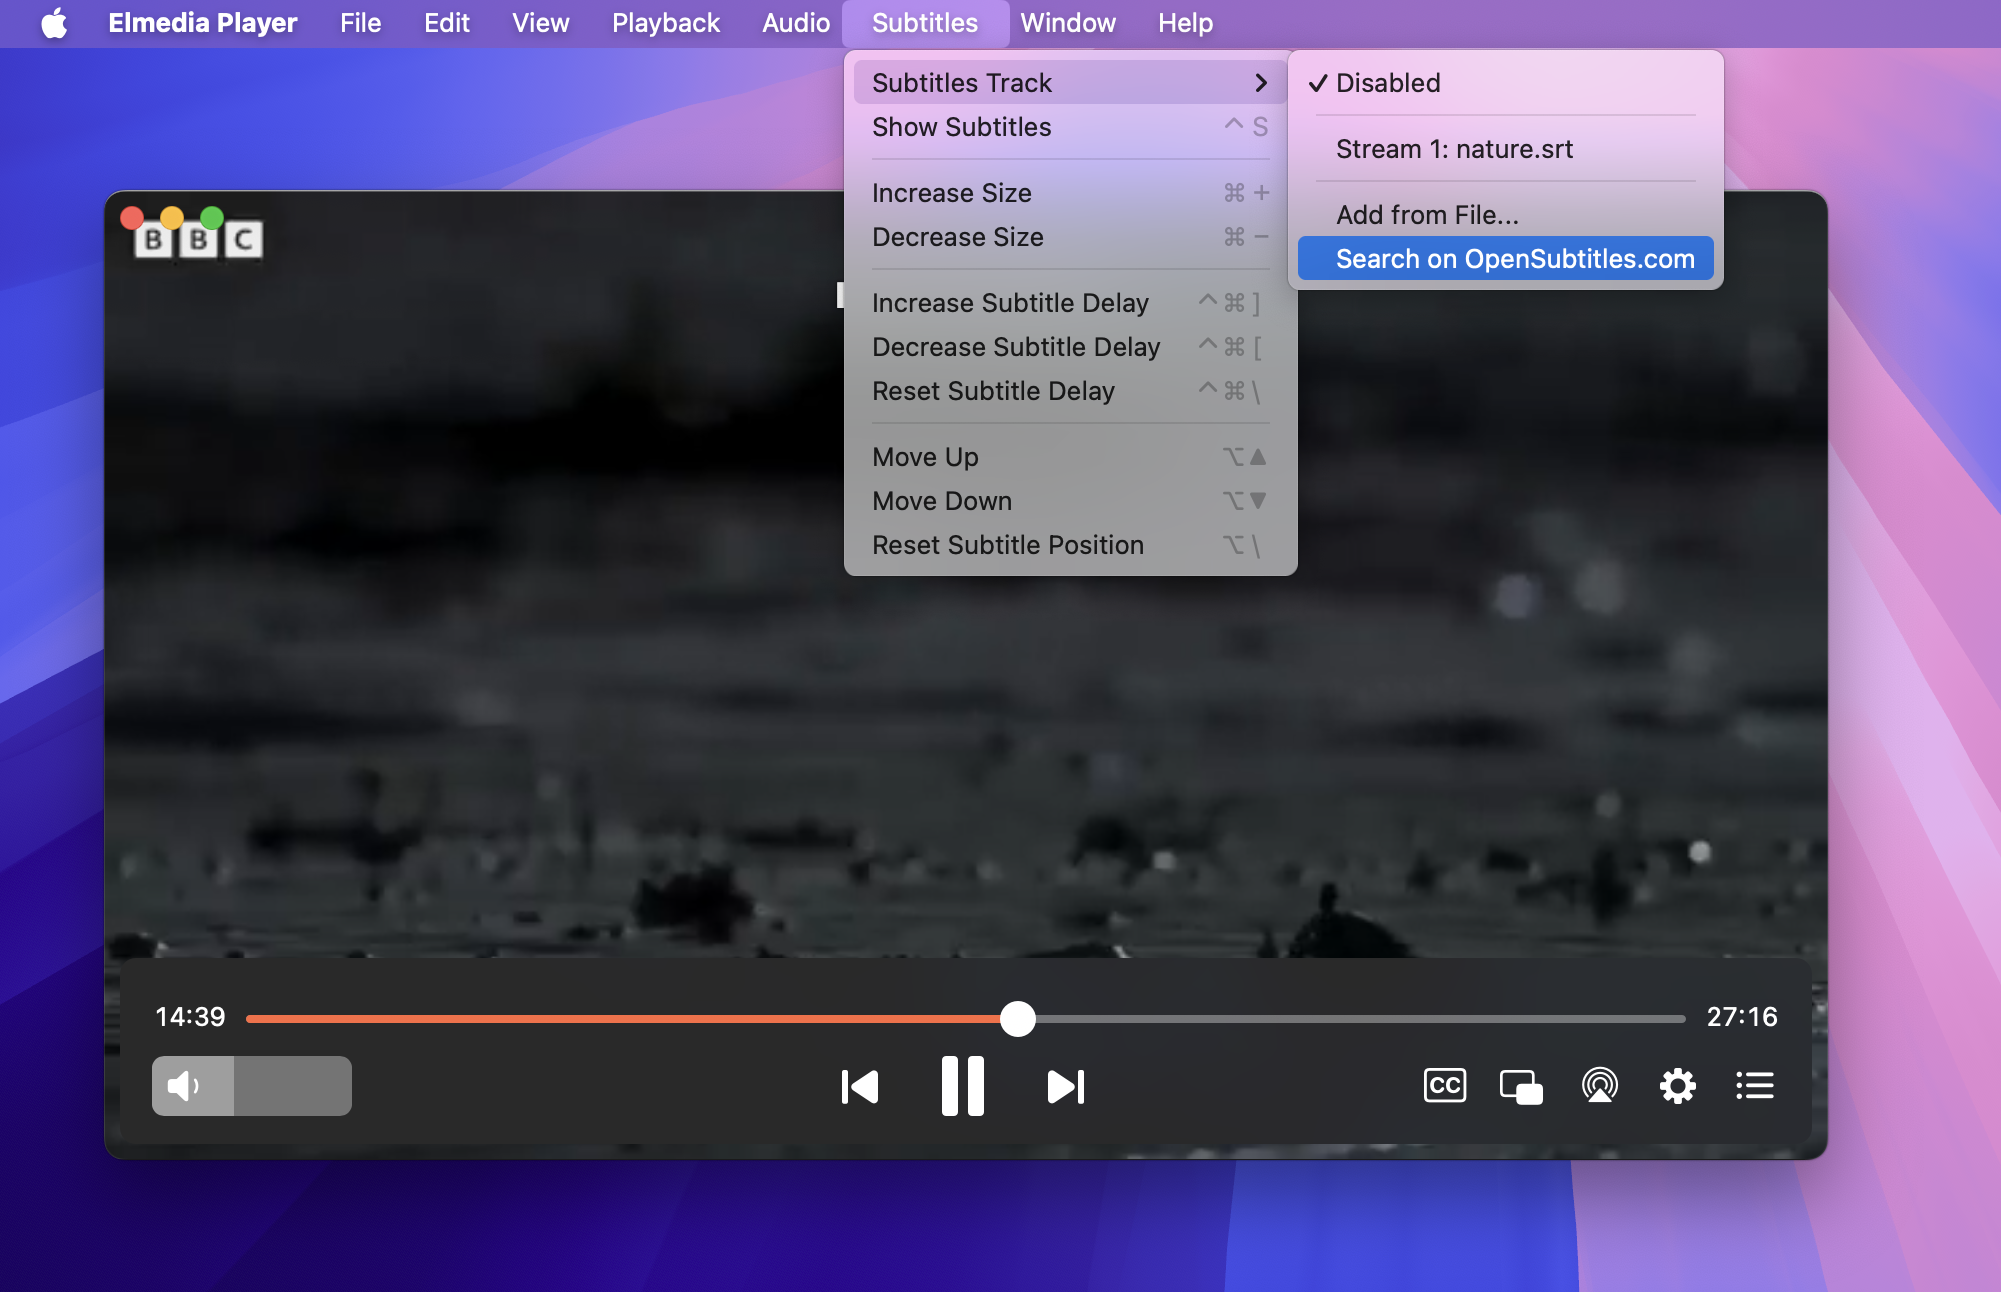
6. If the file you’re looking for isn’t available on your Mac, you can click on “Online Search” in the “Subtitles” tab and choose the file you want. This only takes a few seconds as it quickly searches through OpenSubtitles.org and imports the subtitles into the movie.

7. Lastly, verify encoding if needed. If Elmedia can’t automatically detect the encoding, a prompt will appear, allowing you to manually select the correct option to ensure subtitles display accurately on screen.
After these steps, you can easily play a movie with subtitles and enjoy a relaxing movie night.
How to Add Subtitles to a Downloaded Movie on Windows - VLC Player
VLC Media Player is an excellent tool to add subtitles to a movie for Windows users. It’s free and capable of handling a variety of formats.
Assigning subtitles to a movie is a straightforward process in VLC Player. Here’s how it works:
1. Open VLC Player and open your movie by dragging and dropping the file into the player window.
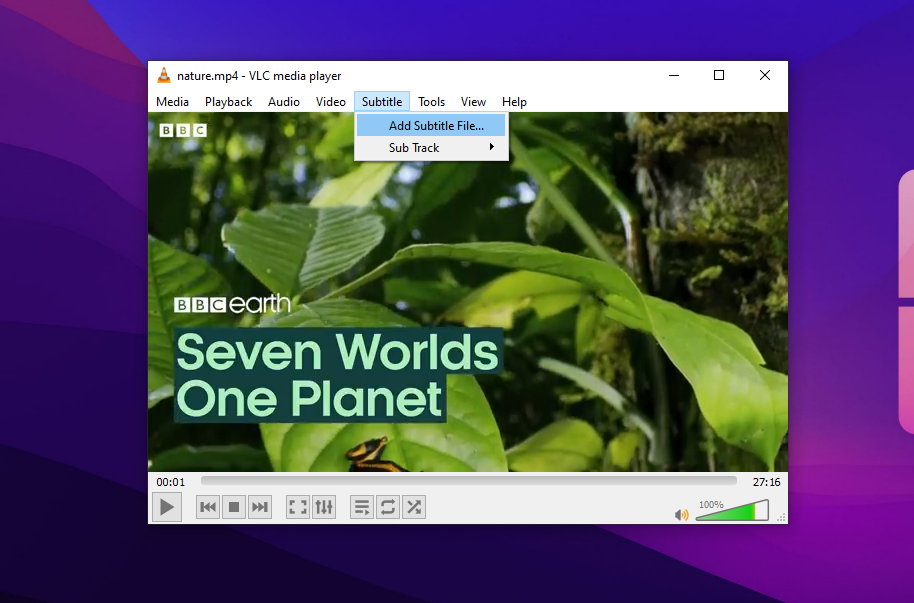
2. If you already have a subtitle file (e.g., .srt format), go to the “Subtitle” tab and click on “Add Subtitle File…” to add the subtitles file to your movie. VLC will immediately load and sync these files.

3. If you don’t have a subtitle file, you can use VLC’s plugin or search for a subtitle on trusted sites. Once downloaded, follow the previous step to incorporate the subtitles in the movie.
4. If the subtitles are out of sync, you can always go to “Tools” and click on “Track Synchronization” to adjust the “Subtitle Track Synchronization” timing.
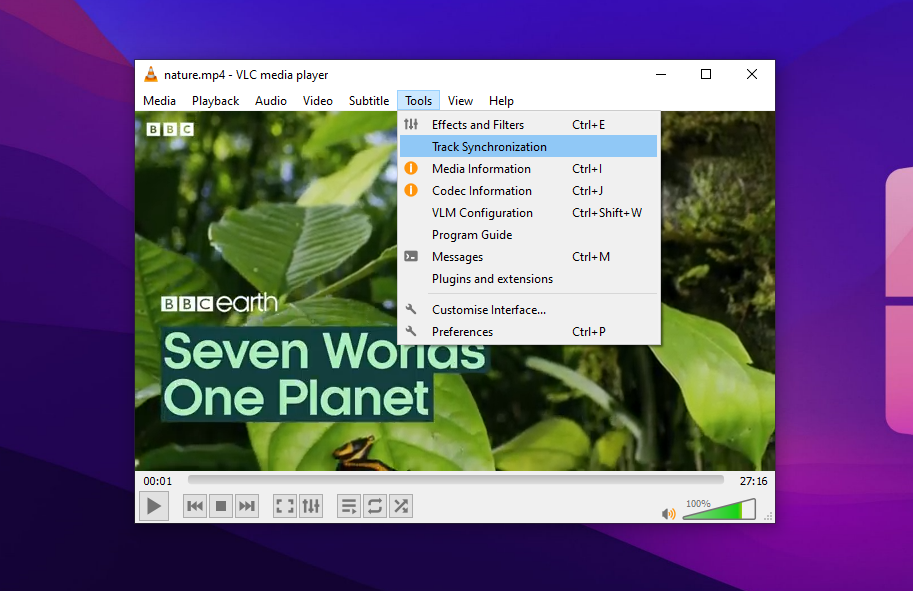

And just like that, you’re all set to play downloaded subtitles with your movies and shows using VLC Player whenever you want.
Creating Subtitles for Different Purposes
If you’re looking to add subtitles to videos or movies you’ve created yourself, there are several methods you can use. Whether for accessibility or improving the viewing experience, adding your own subtitles can make a big difference.
Adding Captions to Your Short-Form Videos
For permanent subtitles for short-form videos like TikTok, YouTube Shorts, and Instagram Reels, Submagic is a huge game-changer. It automatically generates captions for content creators, saving them valuable time and making their content more accessible and engaging.
You can also easily customize the text’s style, color, and position in this app. This helps you maintain a cohesive branding aesthetic in your videos and retain the viewers’ attention without much effort.


Subtitle Generating Websites [Any Video/Movie File]
There are several other websites for generating subtitles that work with various video formats, such as Animaker, Kapwing, and VEED.io. These tools typically include features like auto-subtitle generation, multiple language support, and easy text customization.
Some even offer direct video editing, making it quick and easy to add and sync subtitles without downloading additional software. This variety of options provides flexibility for all types of content creators.
Movie Editing Software
If you’re someone who wants full control over your editing, you can always create subtitles directly in movie editing software. Tools like Adobe Premiere Pro and Final Cut Pro allow you to make custom captions for your videos without relying on .srt files. You can also enjoy a lot more freedom to create captions by adjusting the timing, font, style, and positioning.
To get started, open your movie file in your preferred editor and drag it into the timeline. Navigate to the “Titles” menu to choose a style, then write your text. Drag the title onto the relevant part of the timeline and adjust where needed. This will let you permanently insert subtitles in the movie. Just keep in mind that this method doesn’t allow you to toggle the subtitles on or off, as they’ll become part of the saved movie file.
Conclusion
Adding subtitles to a movie has never been easier thanks to the range of tools at your disposal in these modern times. From Elmedia Player and VLC to online generators and professional editing software like Adobe Premiere Pro, there’s a solution for everyone.
Which one is the best will depend on your preferences and needs. We recommend you give each a try to see which option works best for you.

