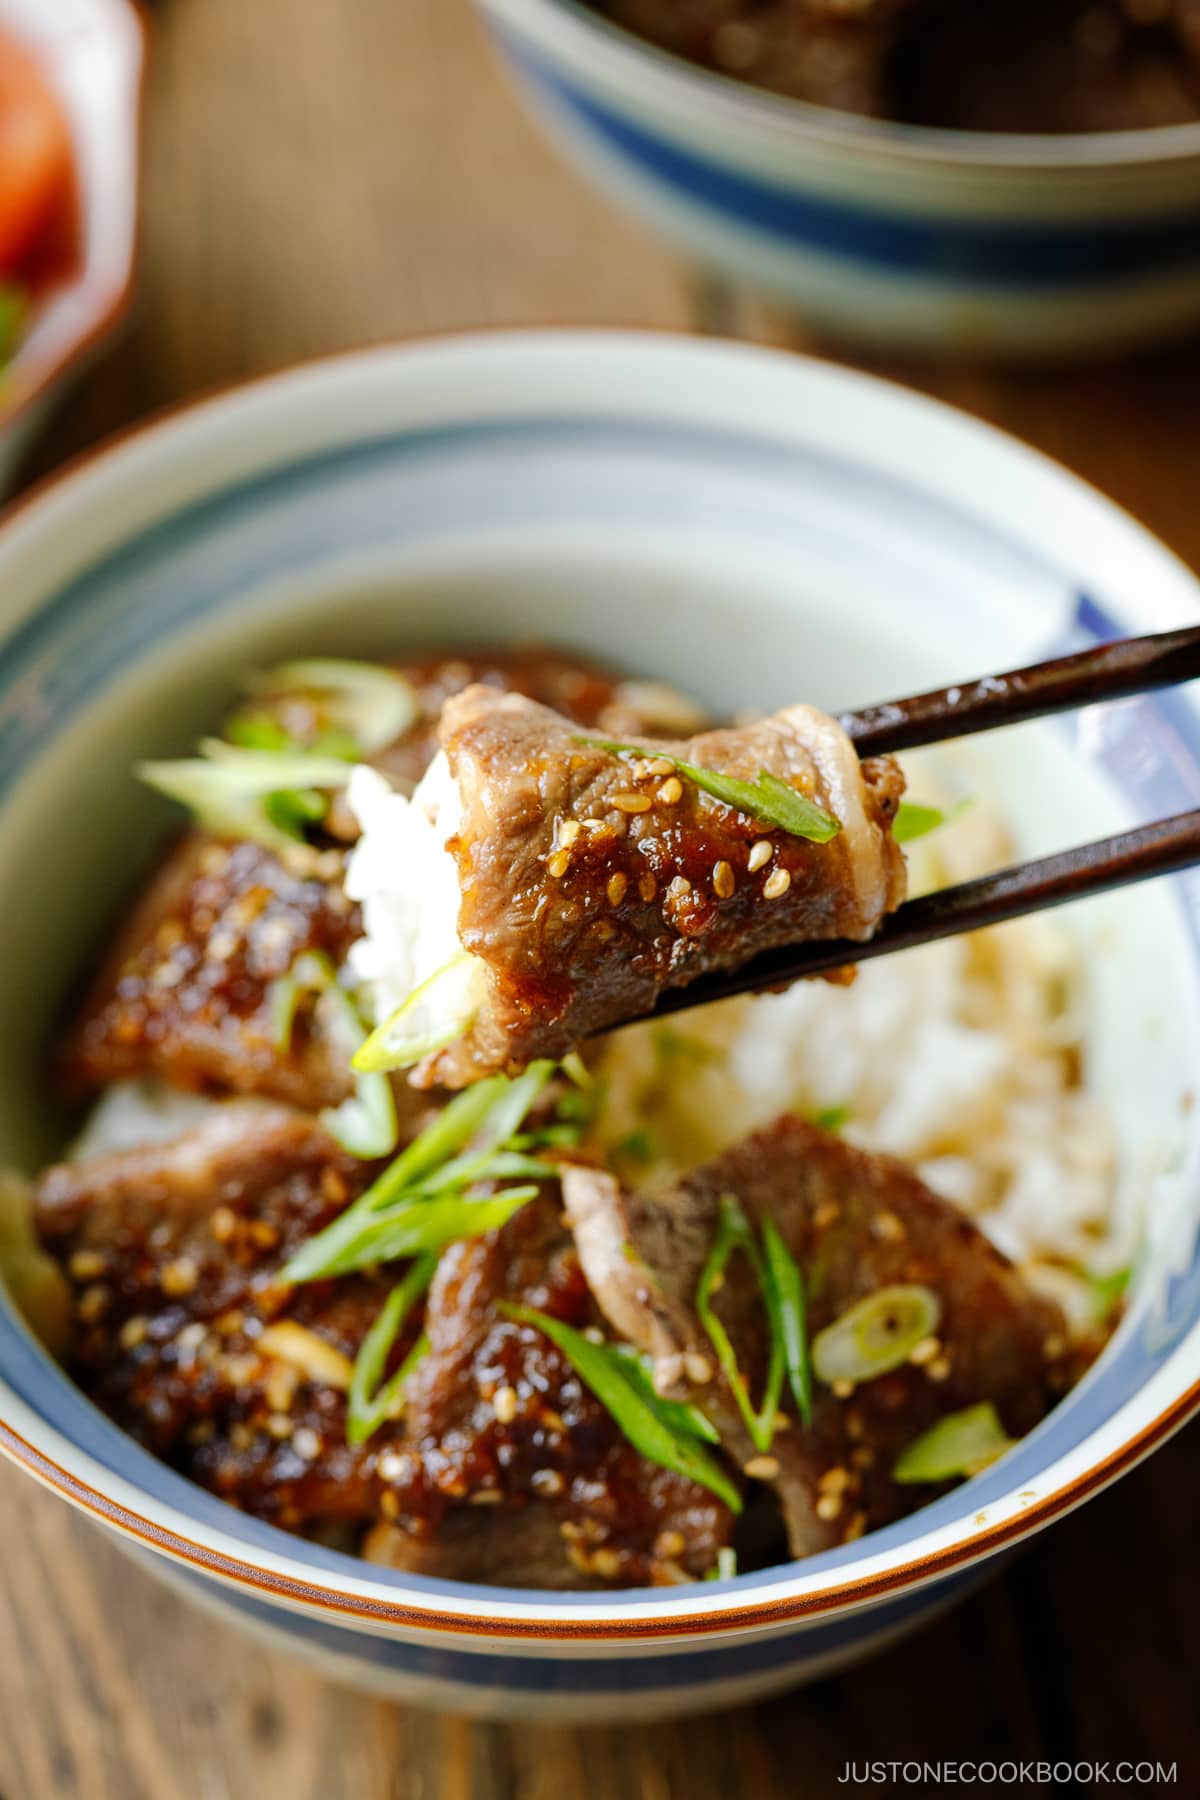
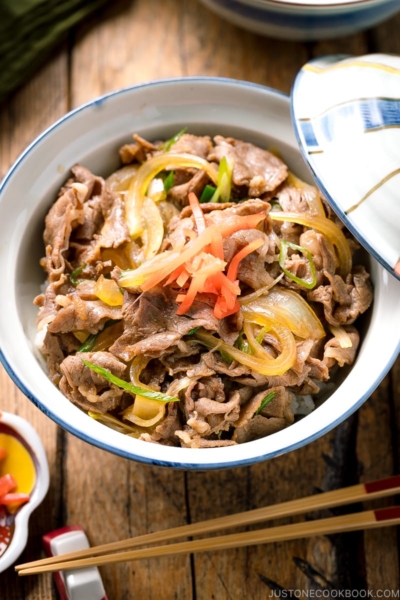
Get ready to dig in the most delicious bowl of Yakiniku Don! Pan-seared beef glazed with a sweet and savory BBQ sauce, all atop a bed of steamed rice—this Japanese grilled beef bowl is a true satisfaction. With a homemade sauce at the ready, you can make the recipe in just 10 minutes. Perfect for a weeknight meal!
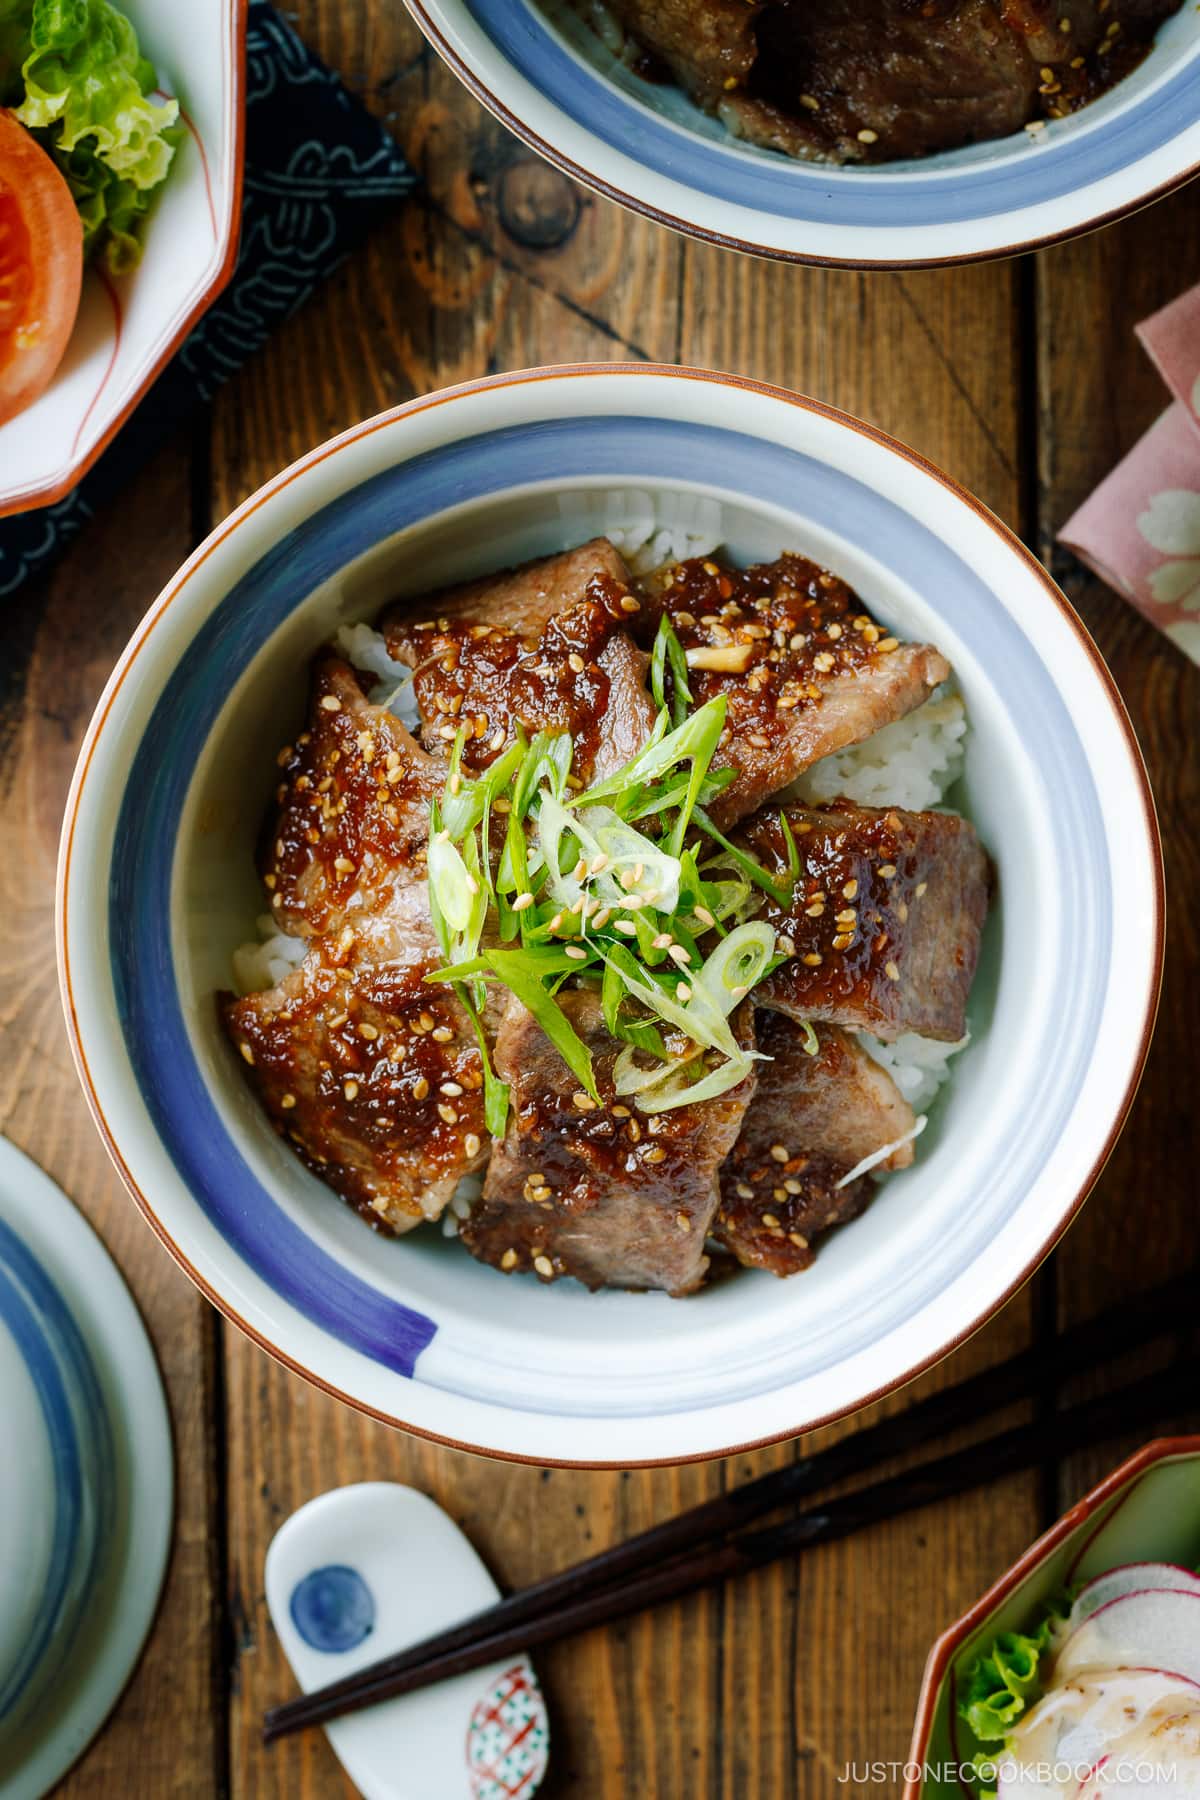
At times, what you crave is a substantial meal to fuel you through a demanding day. On such occasions, I turn to a hearty donburi, the ideal Japanese one-bowl meal that’s not only speedy to prepare but also provides comfort and satiety. While I’ve shared numerous donburi recipes, today I want to introduce another beloved option: Yakiniku Don, a Japanese Grilled Beef Bowl.
Table of Contents
What is Yakiniku Don?
Yakiniku (焼肉) is a Japanese grilled meat dish, which typically implies beef and occasionally pork. Don (丼) is short for donburi (丼ぶり), which means a Japanese rice bowl dish.
You can find yakiniku don on the menu at yakiniku restaurants, donburi specialized restaurants, izayaka, family restaurants (fami-resu), and diners.
I’ve made this recipe simple for everyone so you can rustle it up in under 30 minutes. All you need is steamed rice, well-marbled beef, and a yakiniku sauce.
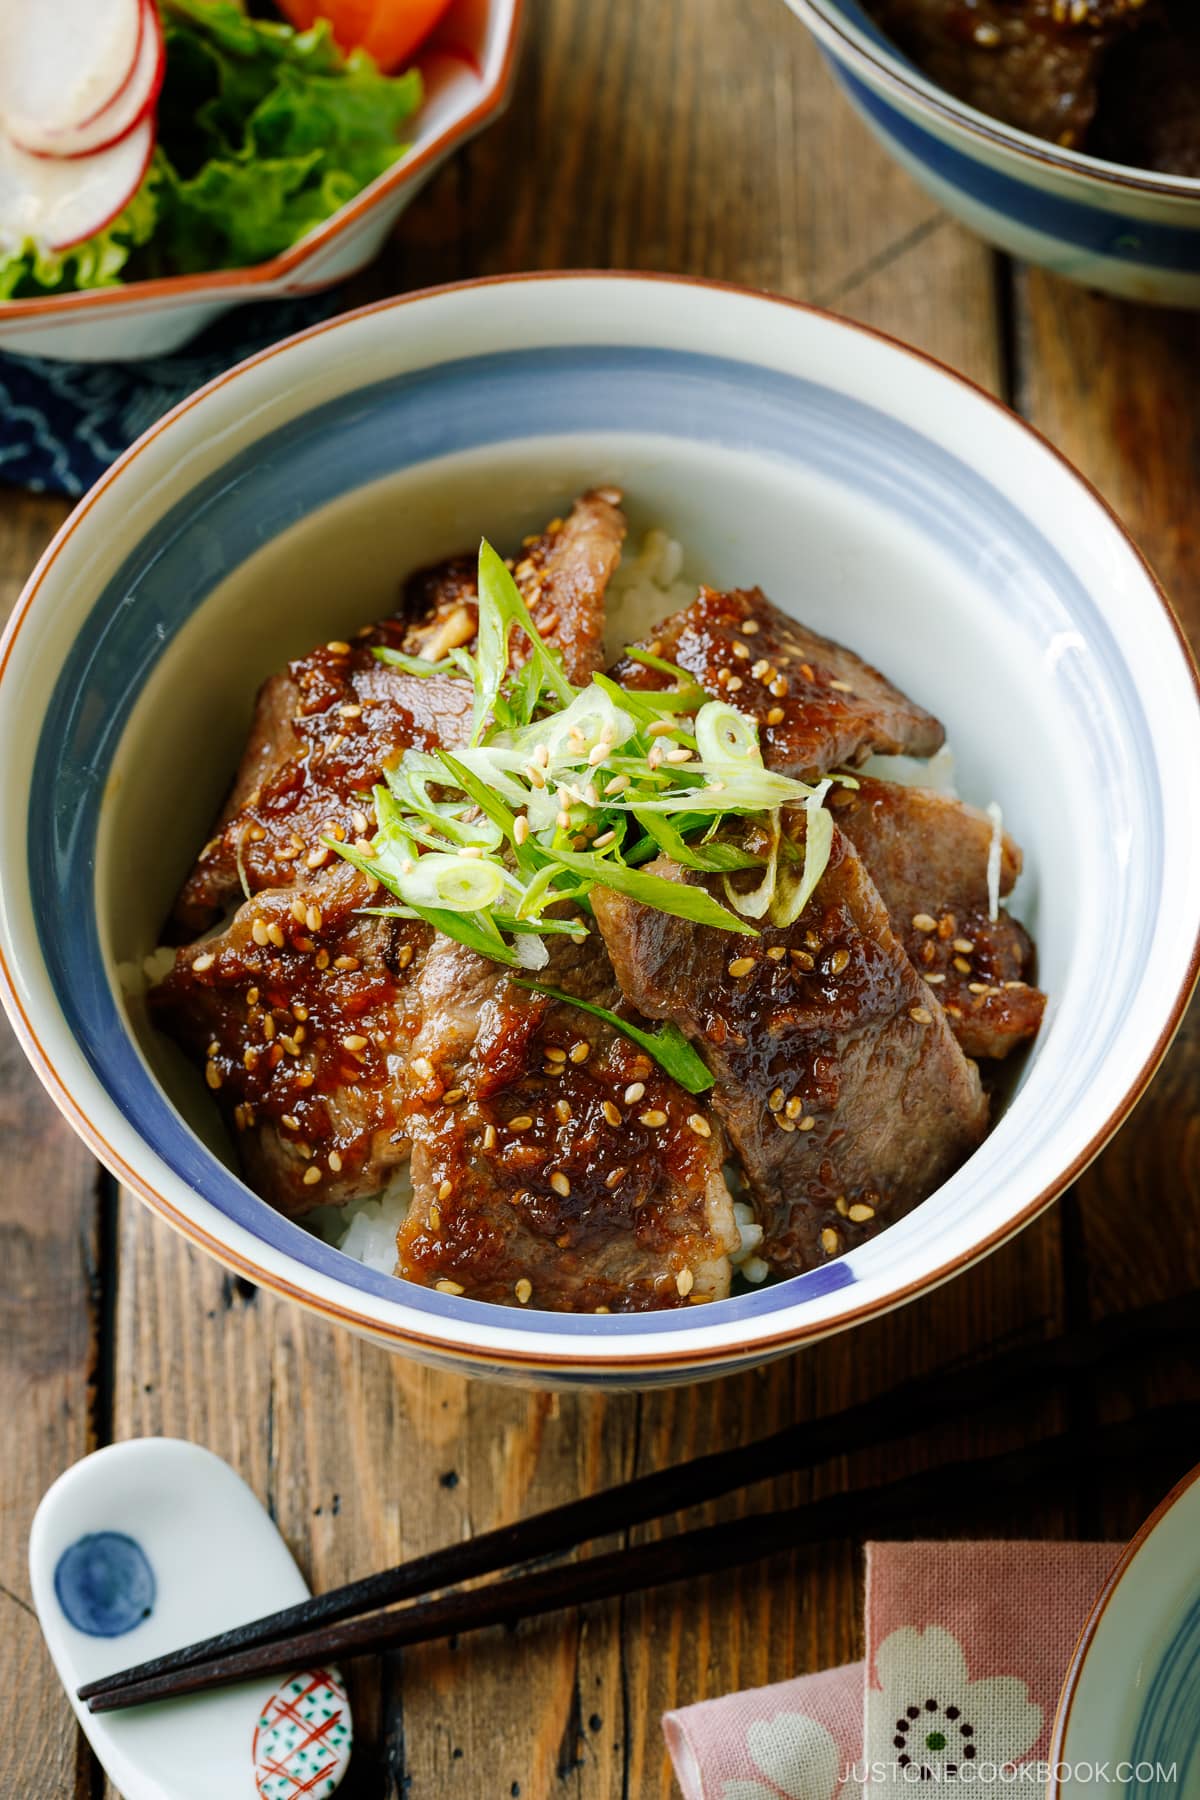
How to Make Yakiniku Don
The Ingredients You’ll Need
- Boneless beef short-rib slices – I’ll discuss more about this below.
- Store-bought or homemade yakiniku sauce – It’s so easy to make the homemade version. This additive and preservative-free sauce takes less than 5 minutes to make!
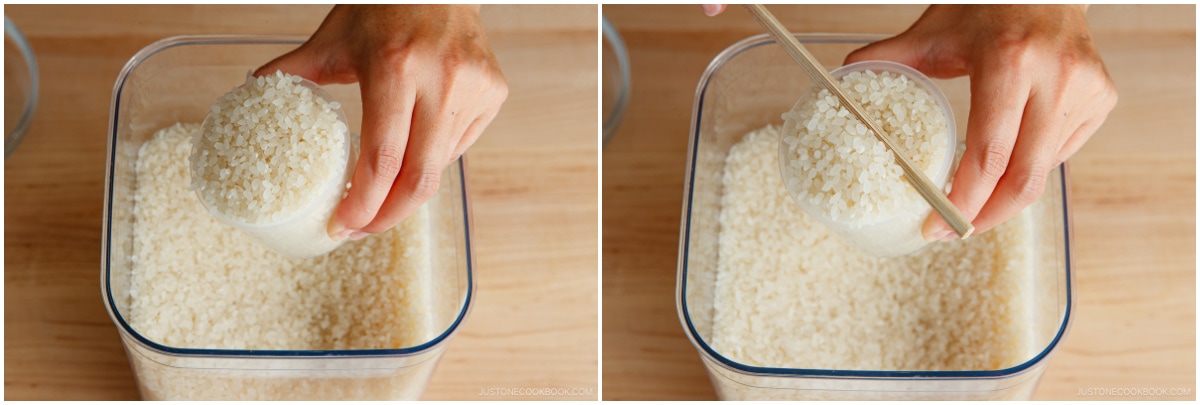
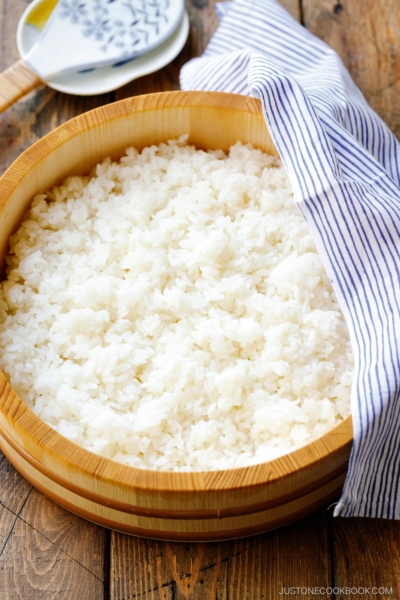
- Cooked short-grained rice – Make sure to cook the rice in advance or defrost your frozen rice (Freezing cooked rice is the best method).
- Green onion (for garnish)
- White sesame seeds (for garnish)
The Cooking Steps
- Prepare the yakiniku sauce if you are not using the store-bought one. Make sure you have steamed rice ready to go.
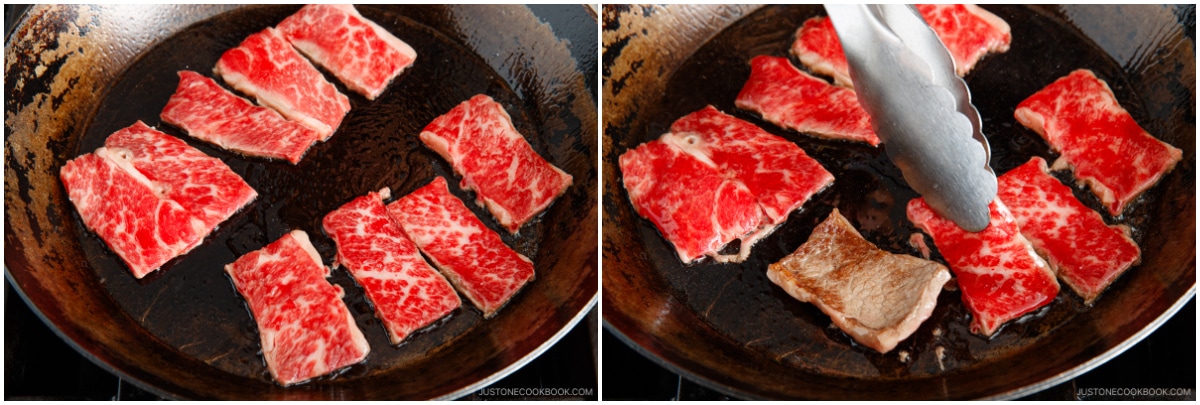
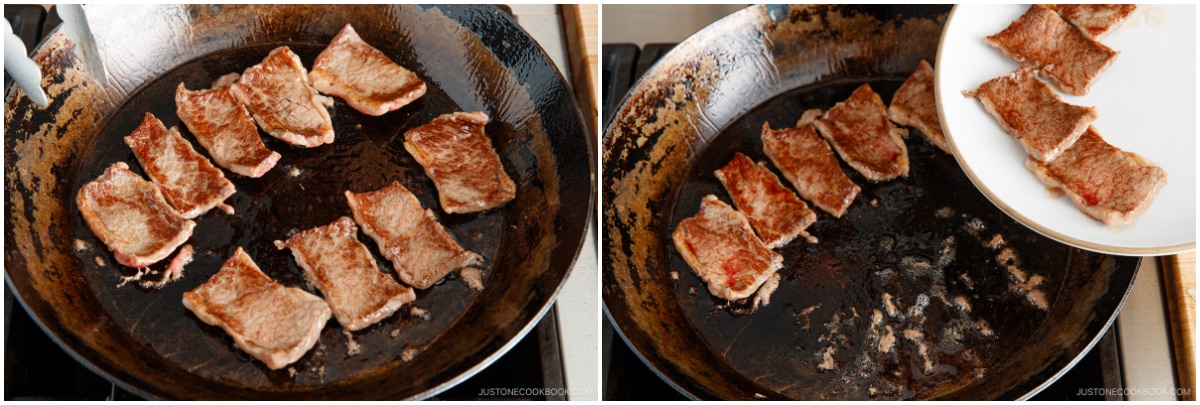
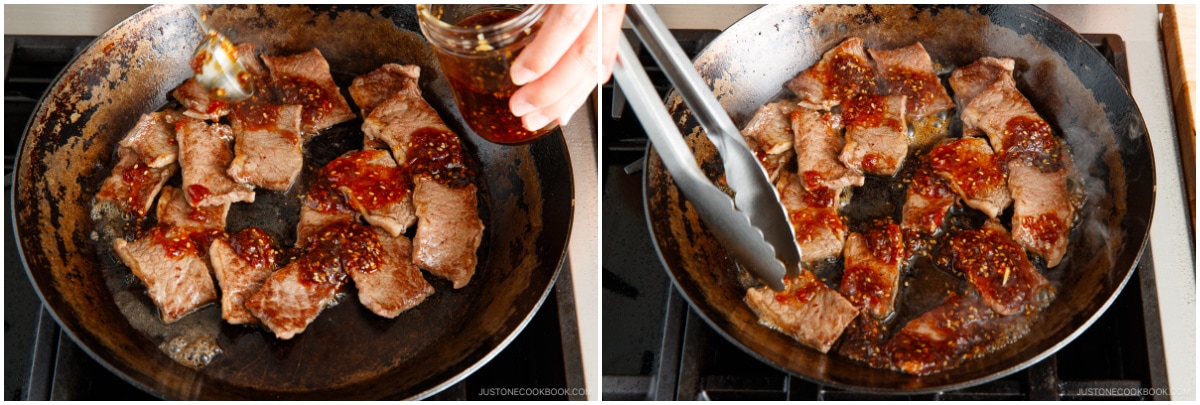
- Pan-grill the boneless beef short rib slices on medium heat in an ungreased frying pan. With well-marbled meat, you do not need to grease the area where you will cook it. Leave the meat untouched to cook until juices appear on the surface. Then, flip the meat. When the bottom side gets lightly browned, flip the meat once more. Cook briefly before removing from the grill. You only need to cook the thinly sliced beef for a few minutes.
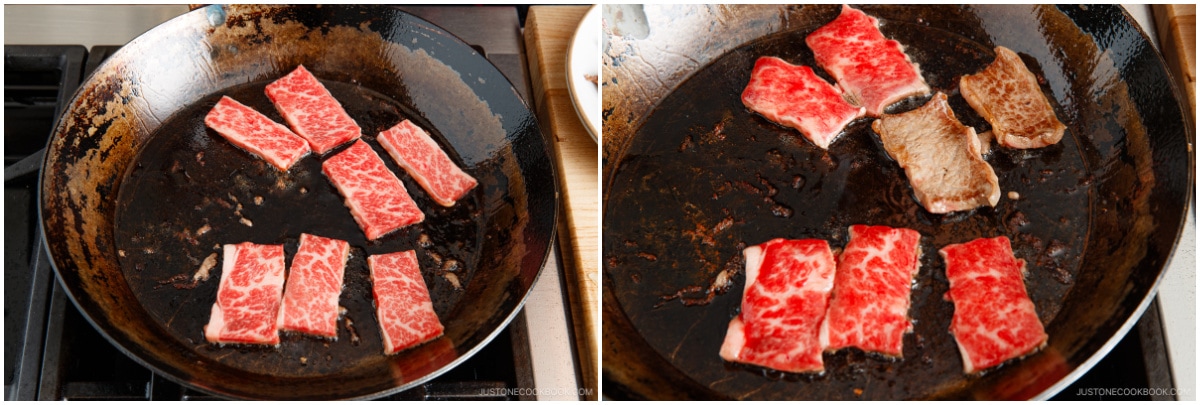
- Cook the beef in batches, removing the cooked beef on a plate while adding a new batch in the frying pan. If you crowd the pan, the beef slices will be steamed instead of getting a nice char.
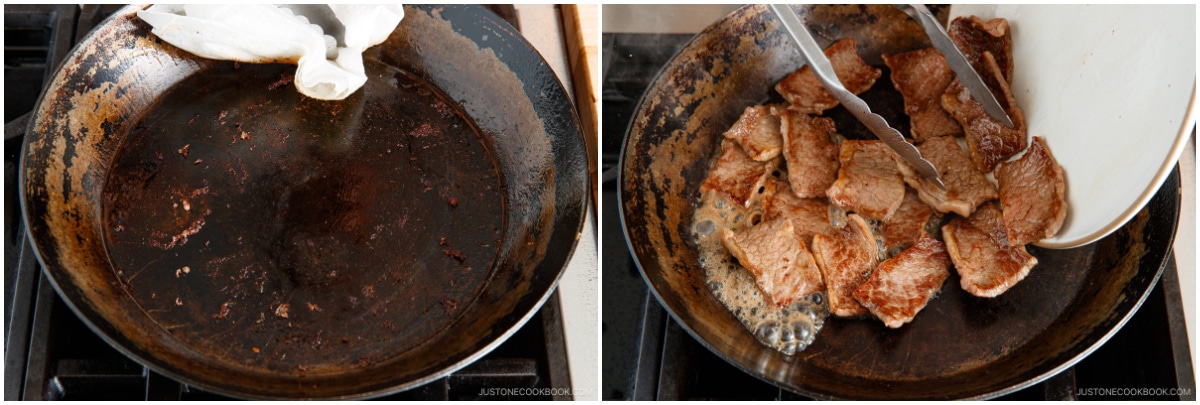
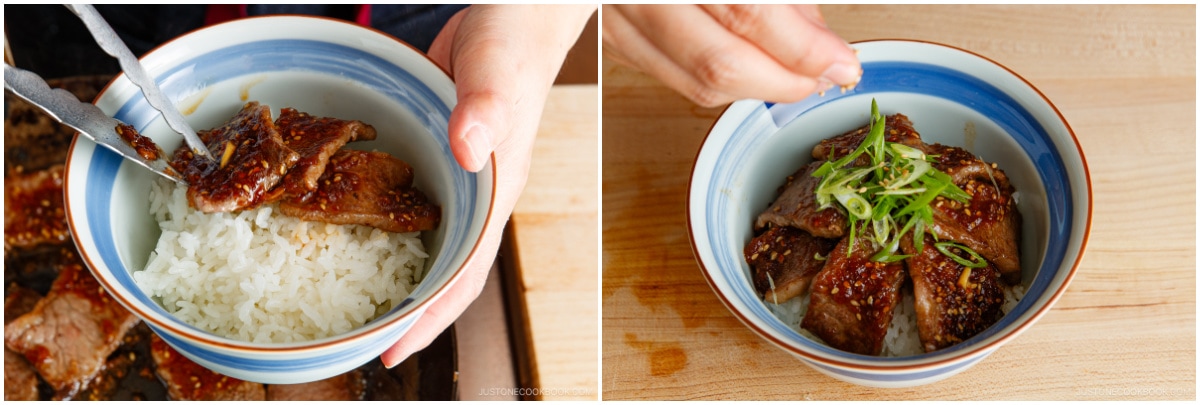
- Once all the beef slices are done, put them back in the pan and pour the yakiniku sauce. Coat well with the sauce and serve over the steamed rice.
- Put the chopped green onion on top and serve hot.
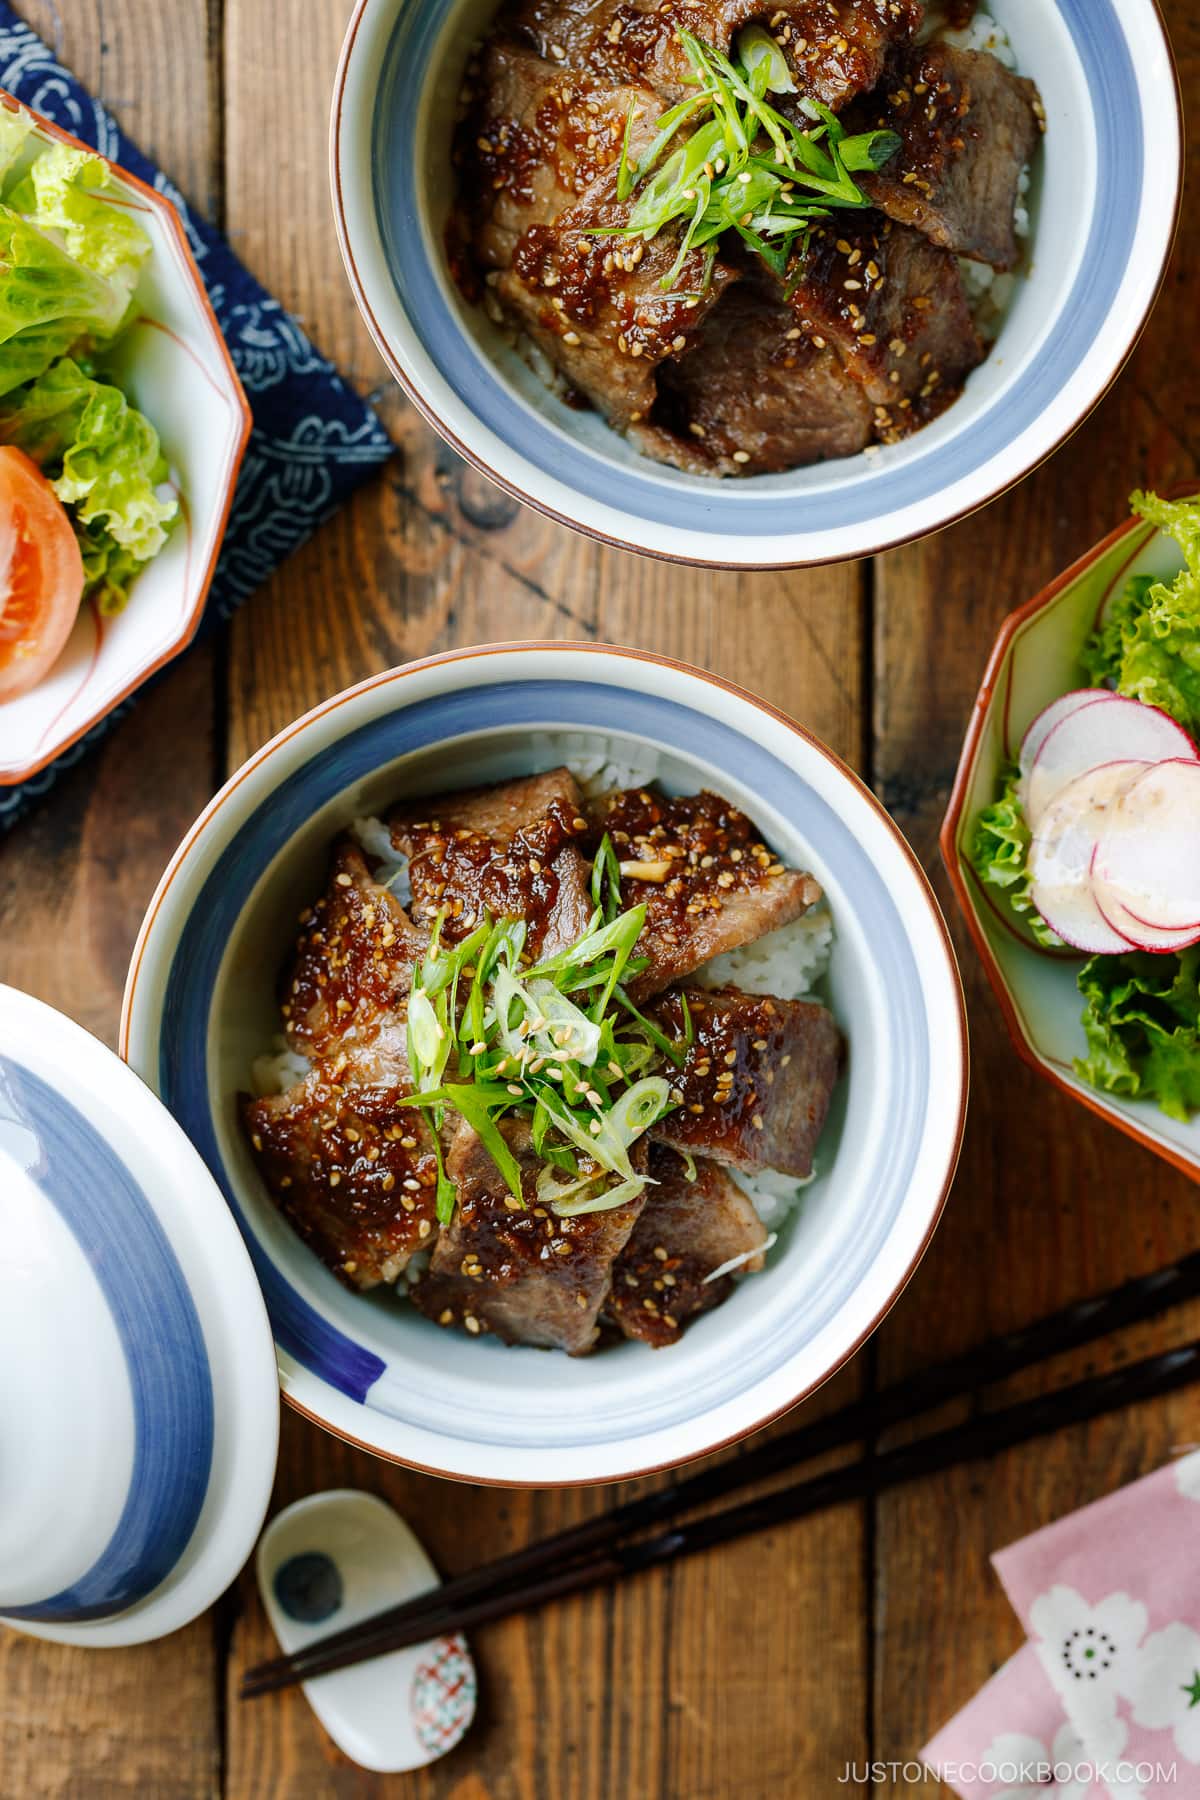
What Kind of Beef to Use for Yakiniku
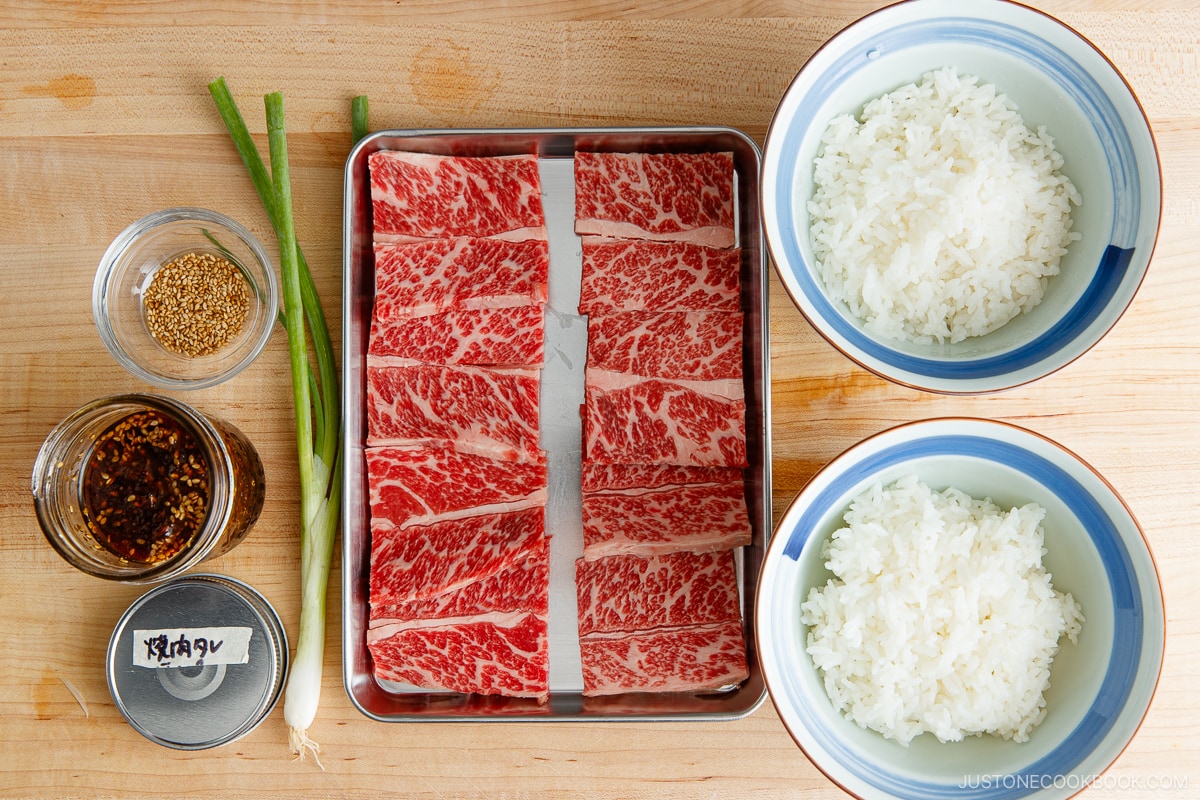
I highly recommend getting well-marbled beef slices like these (see the pictures below).
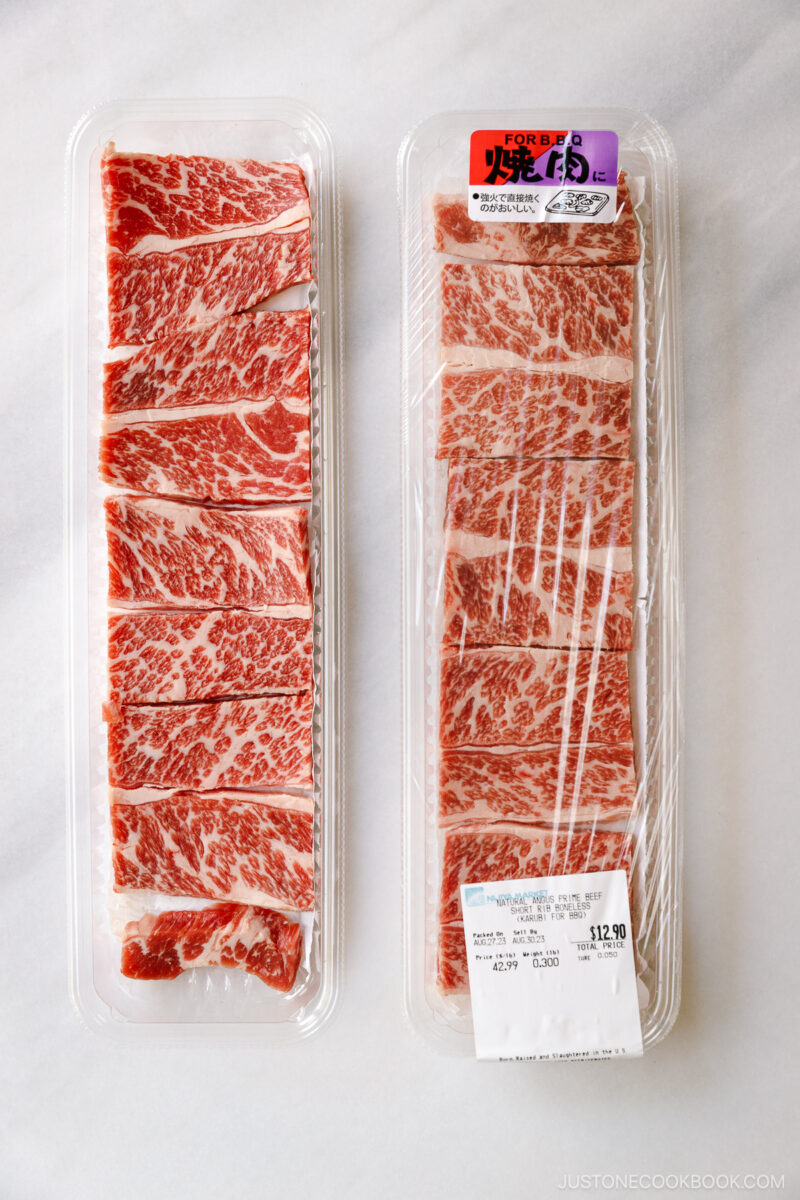
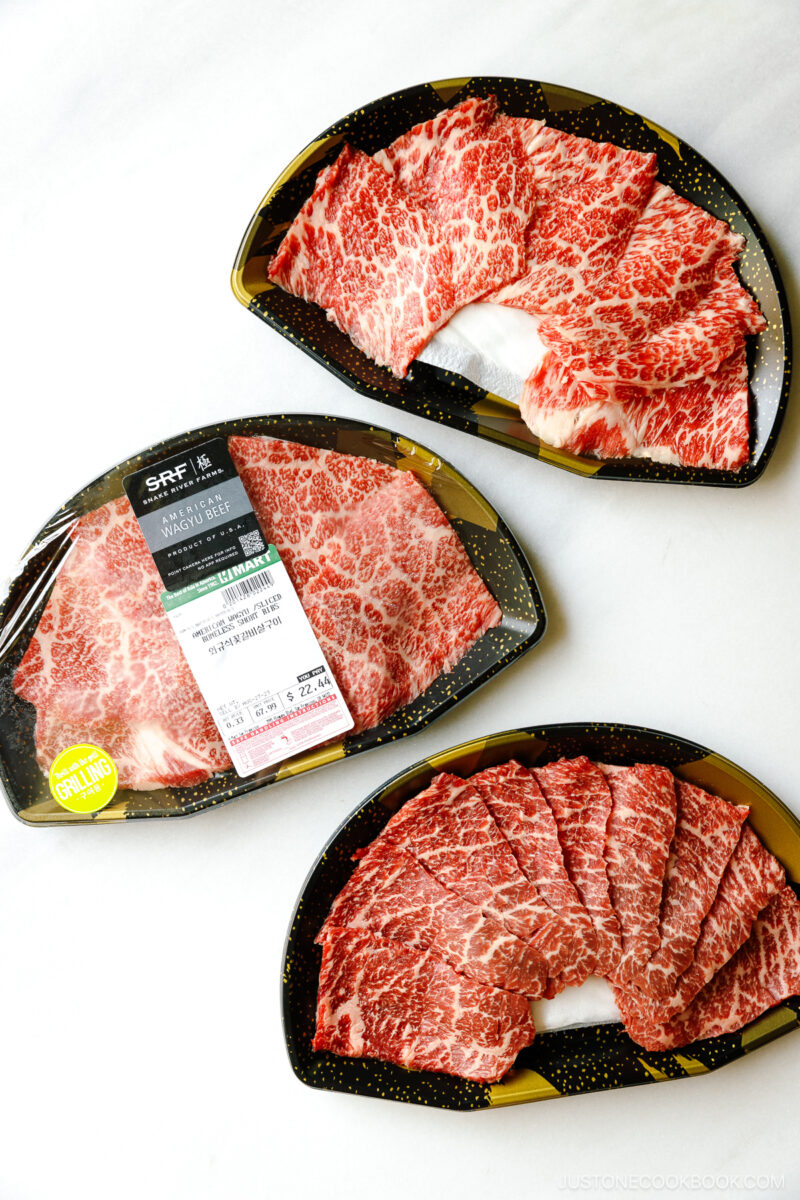
As you can see from the picture above, the marbling and fat content is slightly different from the packages, so “study” the meat before you pick. My children and I prefer a more red, less fatty one, while Mr. JOC would go for extremely well-marbled beef.
From observing different Asian grocery stores around my area, I learned that Korean and Japanese grocery stores carry similar cuts and quality meat. If the meat is not well-marbled, it is very chewy and hard to eat. Since it contains quite a bit of fat in the meat, you probably don’t need to buy/eat as much.
Cooking Tips
- Don’t overcrowd the cooking surface. Give some space for turning over and even heating on the beef.
- Turn the meat over when the juice comes up on the surface, about 15-20 seconds. Until then, don’t touch it. When the bottom side is slightly brown, turn the meat one more time and cook for a short time. Then enjoy! You only flip twice! Grilling guidelines should be 70% on the front side and 30% on the back side. Adjust the heat accordingly.
- Do not overcook. It should be quick “searing.” The remaining heat will continue to cook the beef while you are cooking the next batches. Also, remember that the beef will be reheated again with the sauce.
What to Serve with Yakiniku Don
For those who are looking for a more full menu, here are some recipes that I would pair up with.
- Salad: Green lettuce with Sesame Dressing, Carrot Dressing, or Wafu Dressing.
- Soup: Japanese Egg Drop Soup, Harusame Soup, or Vegetable Miso Soup.
- Dessert: Shiso Sorbet, Purin, or Matcha Ice Cream.
More Quick Donburi Ideas?
These donburi recipes are my go-to when I’m short on time and saved our family dinner countless times! I hope you give them a try.
Wish to learn more about Japanese cooking? Sign up for our free newsletter to receive cooking tips & recipe updates! And stay in touch with me on Facebook, Pinterest, YouTube, and Instagram.
Yakiniku Don (Japanese Grilled Beef Bowl)
- 10 oz boneless beef short ribs (well marbled and thinly sliced to ⅛ inch, 3 mm thick; find yakiniku-style sliced beef at Asian grocery stores; you can slice your own meat; substitute pork, seafood, or chicken; use tofu or other vegetables for vegan)
- 1 green onion/scallion
- 4 Tbsp Yakiniku Sauce (store bought or homemade)
- 2 servings cooked Japanese short-grain rice (typically 1⅔ cups (250 g) per donburi serving)
- ½ tsp toasted white sesame seeds (for garnish)
- Before You Start: For the steamed rice, please note that 1½ cups (300 g, 2 rice cooker cups) of uncooked Japanese short-grain rice yield 4⅓ cups (660 g) of cooked rice, enough for 2 donburi servings (3⅓ cups, 500 g). See how to cook short-grain rice with a rice cooker, pot over the stove, Instant Pot, or donabe.
- Gather all the ingredients.
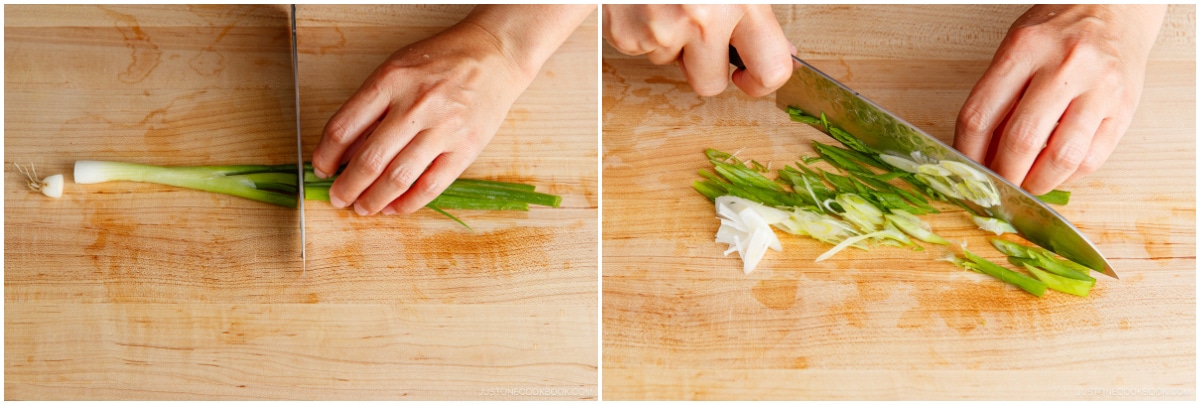
- Cut 1 green onion/scallion into thin slices.
To Cook the Beef
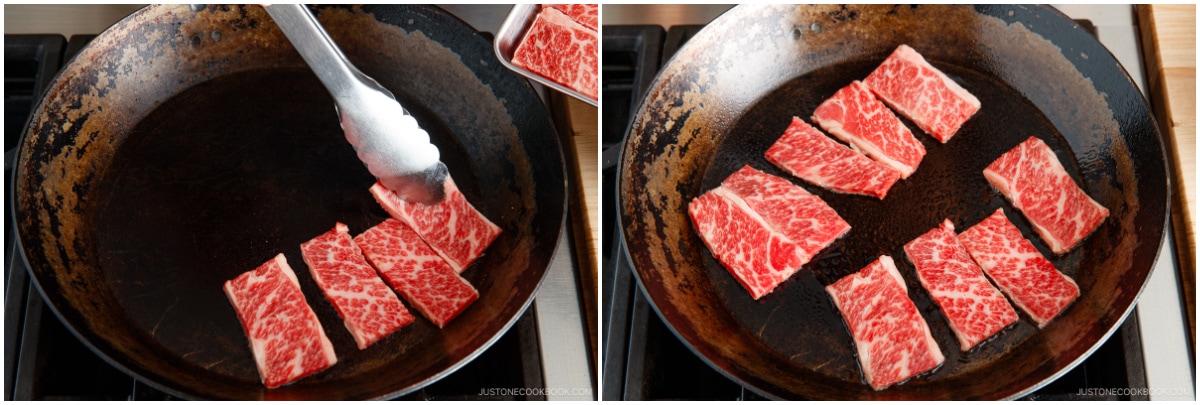
- Preheat a large pan (I use a carbon steel pan) on medium heat. If your 10 oz boneless beef short ribs is well marbled, you do not need to grease the pan. When it‘s hot, add the first batch of beef slices in a single layer; leave some space between the pieces and do not overcrowd the cooking surface.
- To sear, leave the meat untouched until juices appear on the surface, about 15–20 seconds. Then, flip the meat.
- Once you‘ve seared the bottom side to a golden brown, remove the beef slices to a plate. Don‘t worry about cooking the meat through at this point; it will continue to cook with the residual heat and when you reheat it in the sauce.
- Continue to sear the remaining batch of beef.
- If your pan is NOT nonstick, wipe the cooking surface clean with a paper towel. Increase the heat to medium high. Then, place the seared beef and juices back into the pan.
- Pour 4 Tbsp Yakiniku Sauce on the beef. Flip the pieces to coat with the sauce. Once the yakiniku sauce is bubbling and coating the meat well, it’s done. Do not overcook.
To Serve
- Divide 2 servings cooked Japanese short-grain rice into individual donburi (large) bowls. Layer the yakiniku beef to cover the hot steamed rice. Top with the chopped green onions. Sprinkle ½ tsp toasted white sesame seeds on top and enjoy!
To Store
- You can keep the leftovers in an airtight container and store it in the refrigerator for 3 days or in the freezer for up to a month. Store any leftover Yakiniku Sauce in the refrigerator and use it within 2 weeks.


Great dish, easy to prep for, and taste fresh and delicious.
Hi Mark! Thank you so much!
We are happy to hear you enjoyed Nami’s recipe! Happy Cooking!
Hi, I was just curious, have you ever seen other meat used for yakiniku. Like seafood, poultry, or pork. If so, is it still called yakiniku or is it called something else?
Hi Will, Yakiniku (焼肉) literally means “grilled meat” and refers to a Japanese barbecue dish, in which meat and vegetables are dipped in sauce and eaten while being grilled.
Pork, Chicken, Seafood, vegetables, and mushrooms are on most of Yakiniku’s menu.
If you are grilling seafood, it can be called “Kaisenyaki (海鮮焼)” which means seafood barbecue.
We hope this helps!